Jaemus
Experienced Roboteer

Joined: 01 Apr 2009
Posts: 2674
Location: NSW


|
Guide: HK-TxA series Radio - LiPo mod
I just converted my radio to LiPo power. It was so easy and such a clean mod that, although most of you can probably do this in your sleep, I thought I'd do a writeup for any noobs that are seeking to ditch the hundreds of AA's you need to run this thing.
Here we go:
Tools:
- Phillips head screwdriver
- Long nose pliers
- Electrical tape
Purchase: (Total $9.74 USD)
- Female JST 2pin connector $0.75 USD + shipping
http://www.hobbyking.com/hobbyking/store/uh_viewItem.asp?idProduct=9631
- Rhino 750mAh 3S 20C Lipo $8.99 USD + shippinh
(or anything else that will fit, the Rhino is a bit of a squeeze to get the cover on but it works)
http://www.hobbyking.com/hobbyking/store/uh_viewItem.asp?idProduct=7292


Process:
1) Remove the battery cover and any AA's.
b) Remove the four recessed phillips head screws from the rear cover of the radio.
3) Carefully seperate the rear half from the front half. No little springs are going to fly out or anything like that.
d) Disconnect the battery plug from the PCB. Notice that this is a JST-XH plug similar to the one on the balance plug of the LiPo battery.
V) Cut the wires on this plug somewhere halfway along their length (such that you can make an easy reconnection later if you want to return the unit to AA cell operation). Tape the cut ends going to the battery contacts to the back of the rear cover.
f) Using the LiPo pack's discharge plug orientation and wire color order as a guide, install the pin terminals on the wires going to the battery plug you disconnected. Make sure they are crimped properly and the wires wont pull out.
VII) Place the LiPo pack in the battery compartment. Thread the discharge plug into the rectangular hole at the top right so it goes through into the inside of the radio. Put the cover back on (it will be a tight squeeze but if you used the specified Rhino or something no thicker than 12mm it will fit.
Hachi) Join the two red plugs, and verify you have the right polarity (red - red etc).
9) If the polarity was correct, plug the battery plug back into the PCB.
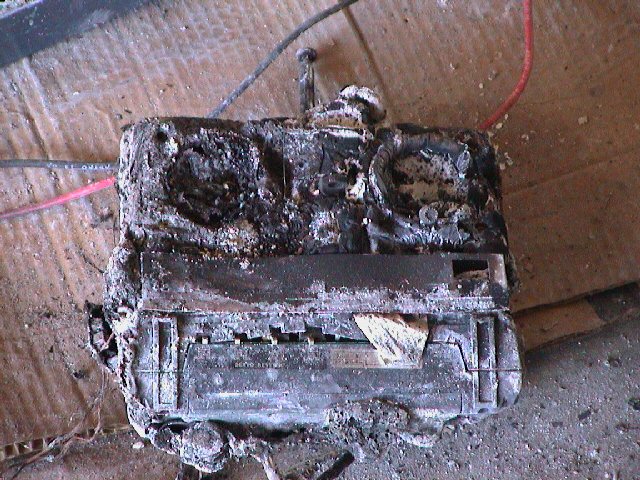
j) Switch on the radio. Verify that the power light comes on. If smoke or fire, immediately throw it into a swimming pool and order a new radio.
11) Reinstall the back cover onto the front cover taking care that the wires dont interfere with any mechanism.
XII) Secure with the four screws.
Done!
I noticed that with a brand new LiPo that I hadnt charged (straight out of the packet) that my power light was green. This was good as the 3S voltage of 11.1V is less than the specified 12V but still within the range of operation. I havent conducted any tests to see what voltage the pack is at when the light turns red, but as it is a LiPo pack, make sure you dont run it into the red for long, as you will risk damaging the pack, and/or creating the abovementioned smoke or fire and resulting in you having to throw it into a swimming pool. At the least, the pack will swell and the cover might violently fly off, killing your cat.
Enjoy supporting photos; please note I did mine slightly differently as I already had a ready made 2pin JST to 3pin JST-XH adapter that came with my LiPo charger 


DISCLAIMER: The above will
definately
happen if you do this mod. So don't do it under any circumstances! *** Or if you do, just be careful, OK? Dont charge the LiPo in the radio.
|


 RoboWars Australia Forum Index
-> Technical Chat


