|
|
|
|
|
|
Glen
Experienced Roboteer

Joined: 16 Jun 2004
Posts: 9481
Location: Where you least expect


|
Okay, Just to keep everyone informed  , the redesign is all drafted up and measurements made. I wont go into all the details because so much will change vs how it is now, but ill give a brief run down of the main parts. Construction begins on Tuesday. , the redesign is all drafted up and measurements made. I wont go into all the details because so much will change vs how it is now, but ill give a brief run down of the main parts. Construction begins on Tuesday.
The New main additions - there are plenty more but these are just the major changes:
- Full frame work around the top that will hold it all together essentially
- A solid roof with proper lighting
- Wall bumpers now sit below the floor level
- Polycarb sits all the way down below the bumpers and is held in with more tabs at the bottom. Before it was flush with the top of the wood.
- The strips in the middle that clamped the polycarb will have spacers so the polycarb can slide up and down properly (as proper as it will ever get at least lol  ) )
- support legs in the middle of the panels and the center of the arena with adjustable height feet for leveling.
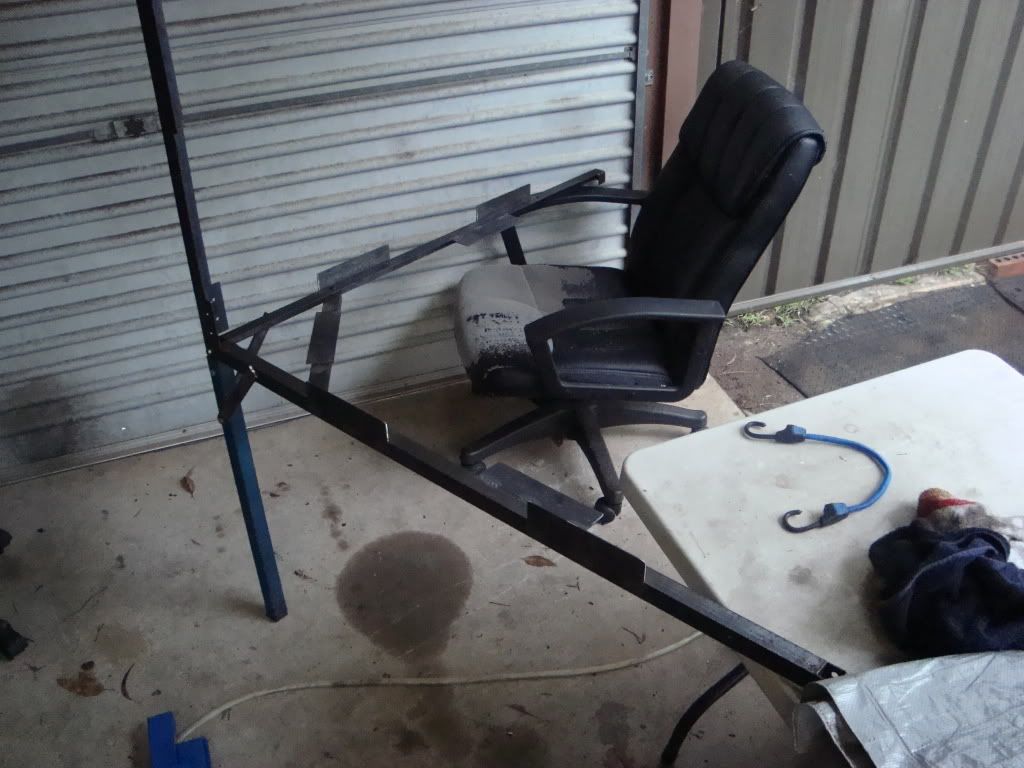
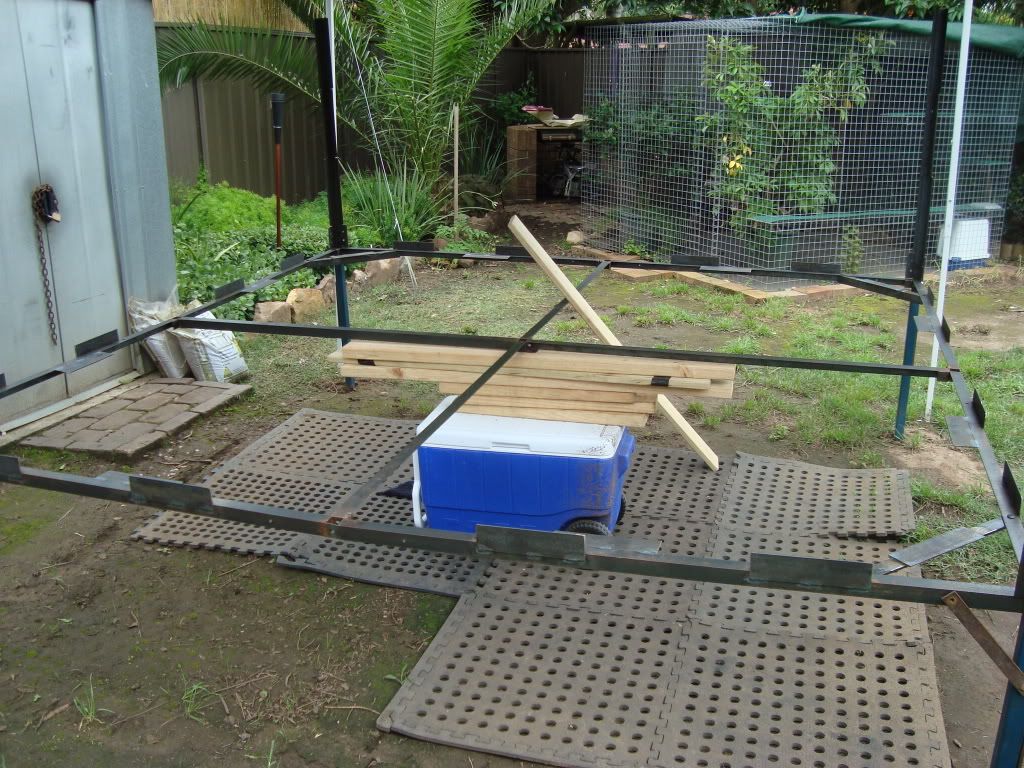
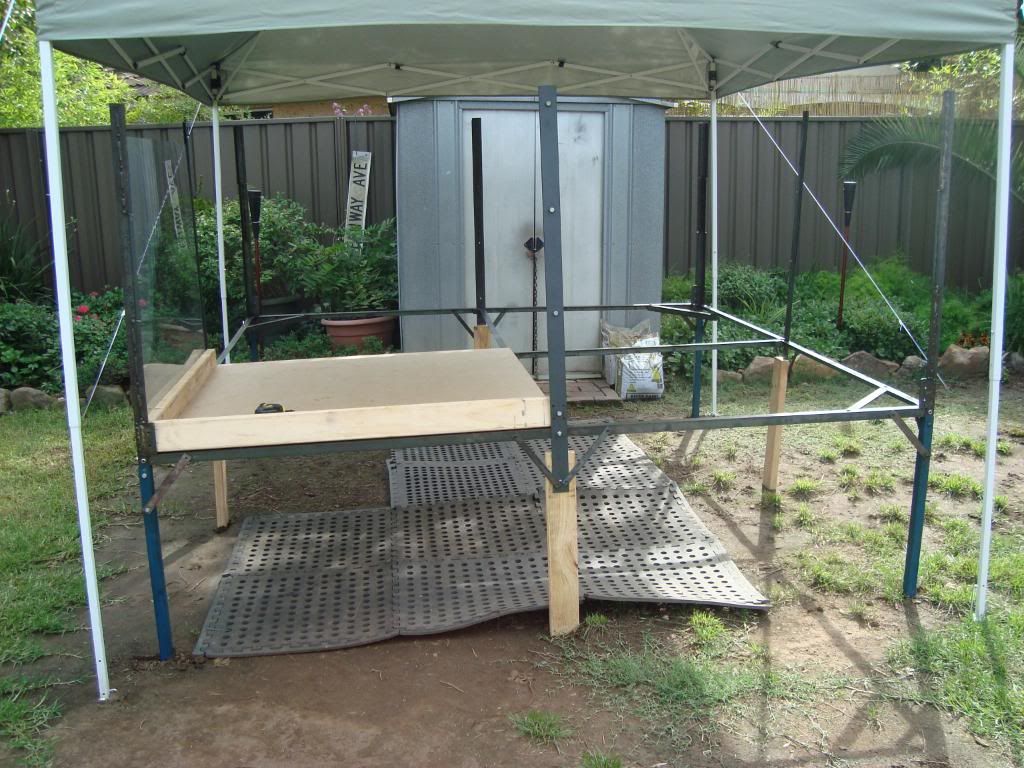
This is it fully assembled in its current iteration:
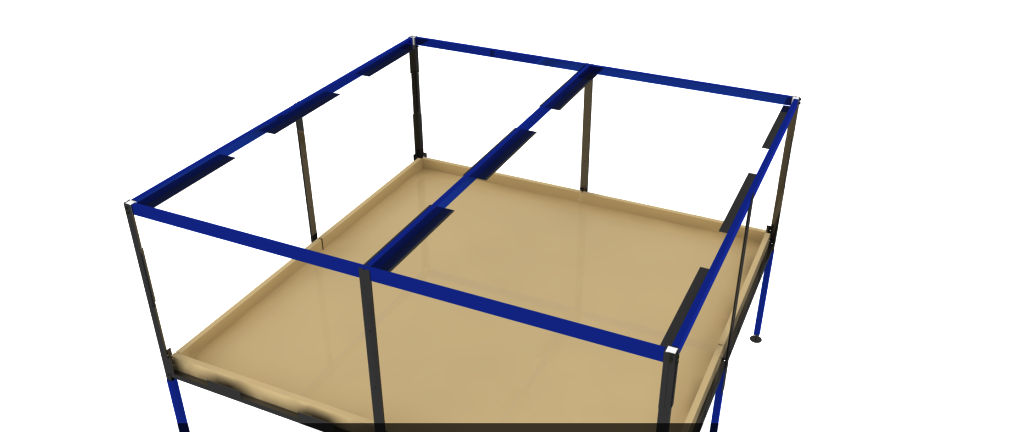
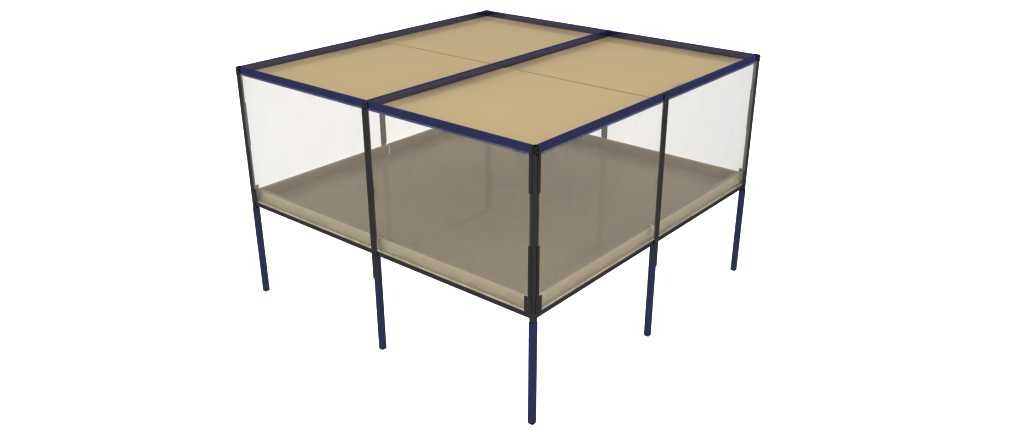
And the render (not totally complete here)
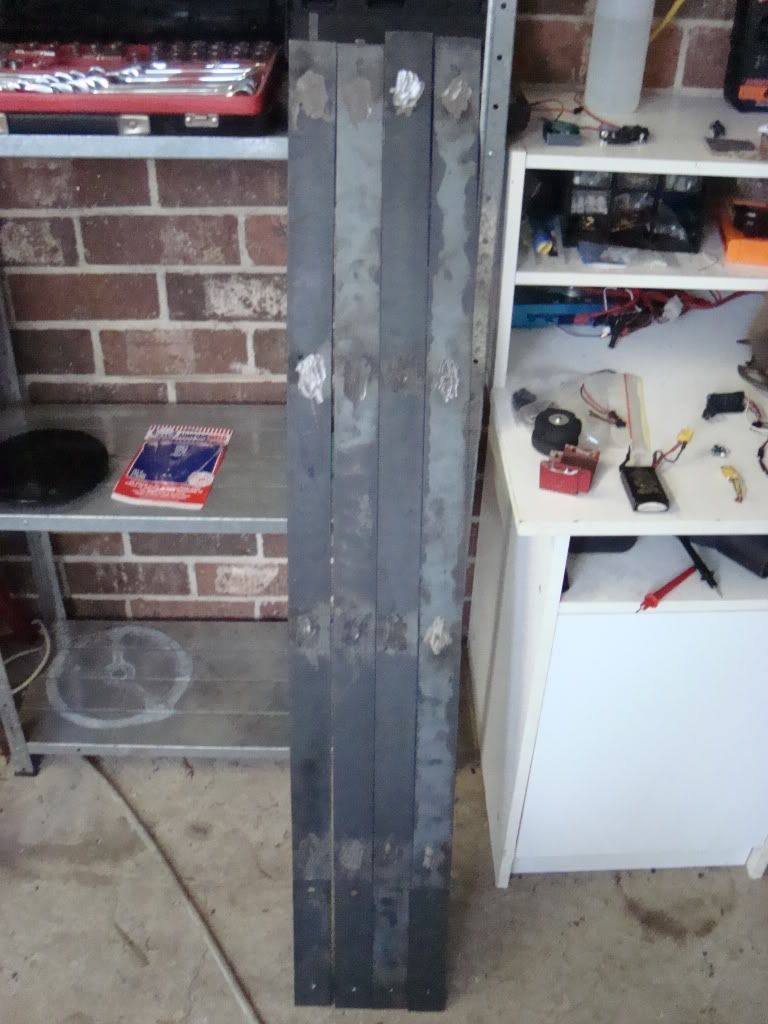
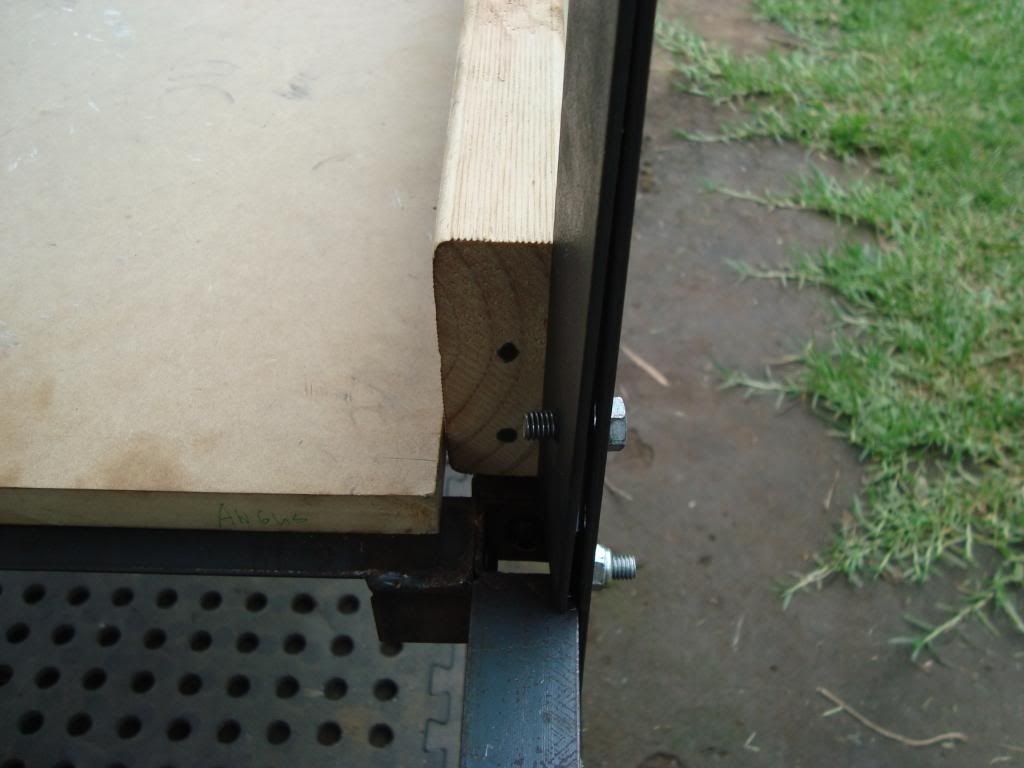
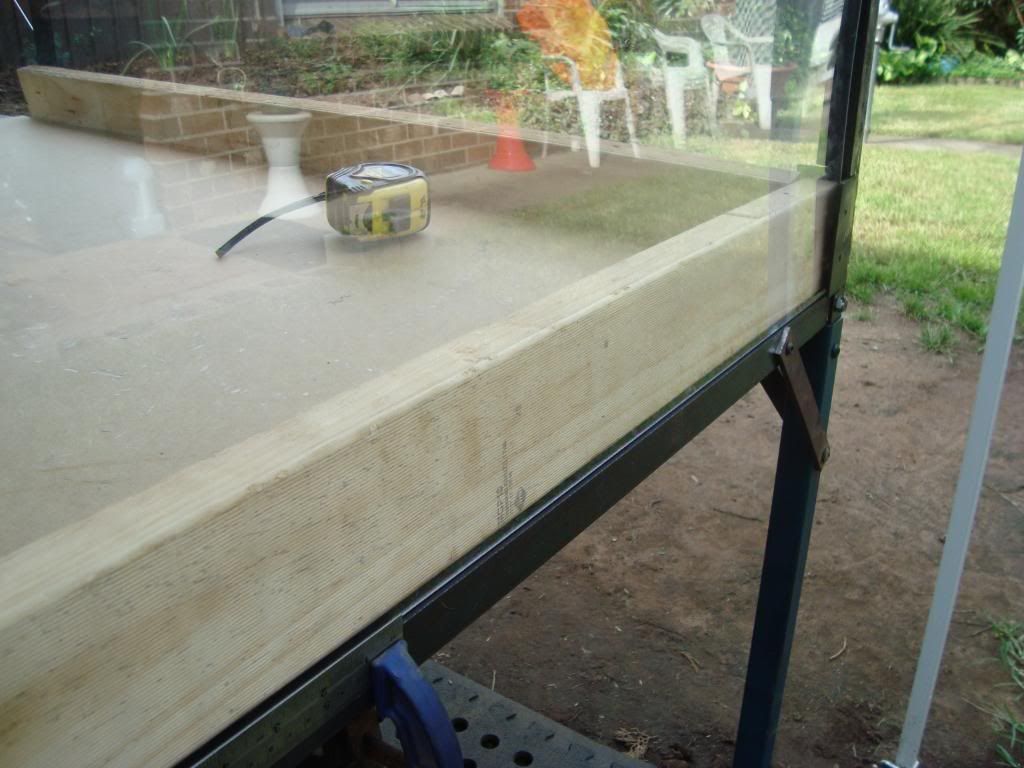
The bumpers sit below the floor, so its a wedge happy environment As a result of the floor sitting farther inward, some tabs will need to be welded onto the edges as shown in the 2nd pic to support the floor. The original wood didnt reach the edges anyway, so it works out well!
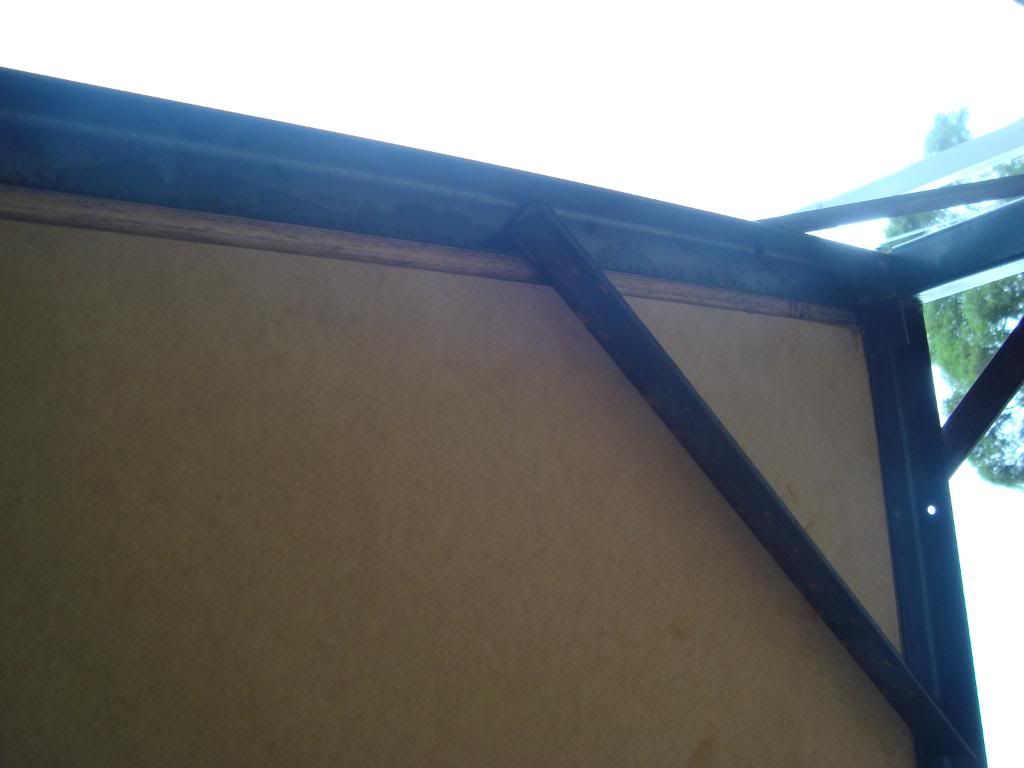
The polycarb will sit lower, all the way down now and behind the wood bumper. This is more a safety thing than anything else, the polycarb sitting flush with the top of the bumper before could have let something through the gap. More tabs weld onto that bottom railing to support the polycarb and stop it bowing out which was a problem before.
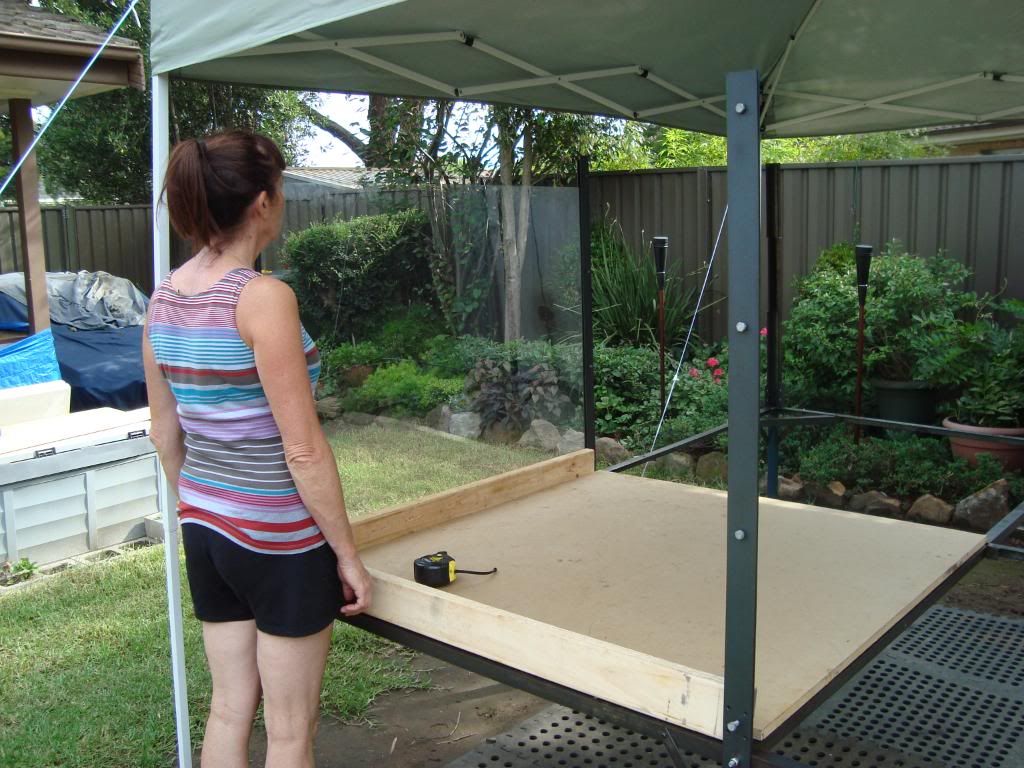
Consequently the arena will sit a bit lower, the roof beam will sit about 10mm lower than the polycarb. But with adjustable feet we can jack it up a bit. Mum shown for scale
I've already done quite a bit with what you see here (making it all fit together) So progress is happening
Build days will happen here every weekend till the event unless otherwise stated, so if you have some spare time, a good welder and a grinder come round and help! Free coke and lunch in exchange for back breaking labour ;P
_________________
www.demon50s.com - Minimoto parts
http://www.youtube.com/user/HyzerGlen - Videoooozzz
|
 Sun Jan 29, 2012 7:54 pm
 |
|
|
|
|
|
|
|
|
|
|
|
|
|
|
|
|
Glen
Experienced Roboteer
Joined: 16 Jun 2004
Posts: 9481
Location: Where you least expect
|
Well that's a convenient excuse Angus, IF THAT EVEN IS YOUR REAL NAME 8( but not to fear! I've already penned you down for the most back breaking tasks when you return for putting me through this hell XD!
19th could work, I have a friends 21st on the 18th but ill ride back in time for an afternoon build if anyone can do that.
The MDF panels are 1.2 square for all of them, roof and floor. The roof should be sweet but the floor just needs to be trimmed a little to suit the arena as it stands, as it turns out cadded size and actual as it stands bolted together size are completely different! whoda thunk lol. Will only need to remove about 10-15mm from two sides of the panels to make it all fit nicely.
Plus i reckon we will need to redo the bumpers so a chop saw would be great. Perhaps i can even throw a wood blade on my abrasive chop saw for that.
Anyway, progress. Horrible week weather wise that's completely screwing with any attempt to do work. But getting the grinding and cutting done in the day and the welding done at night when the rain stops is the go.
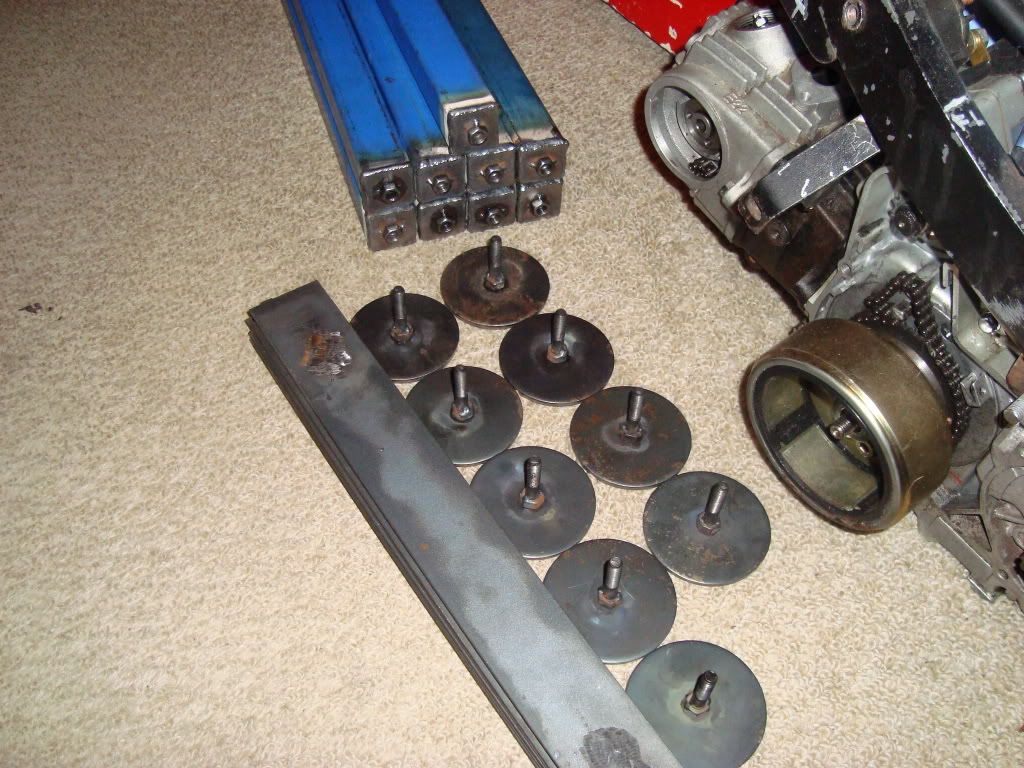
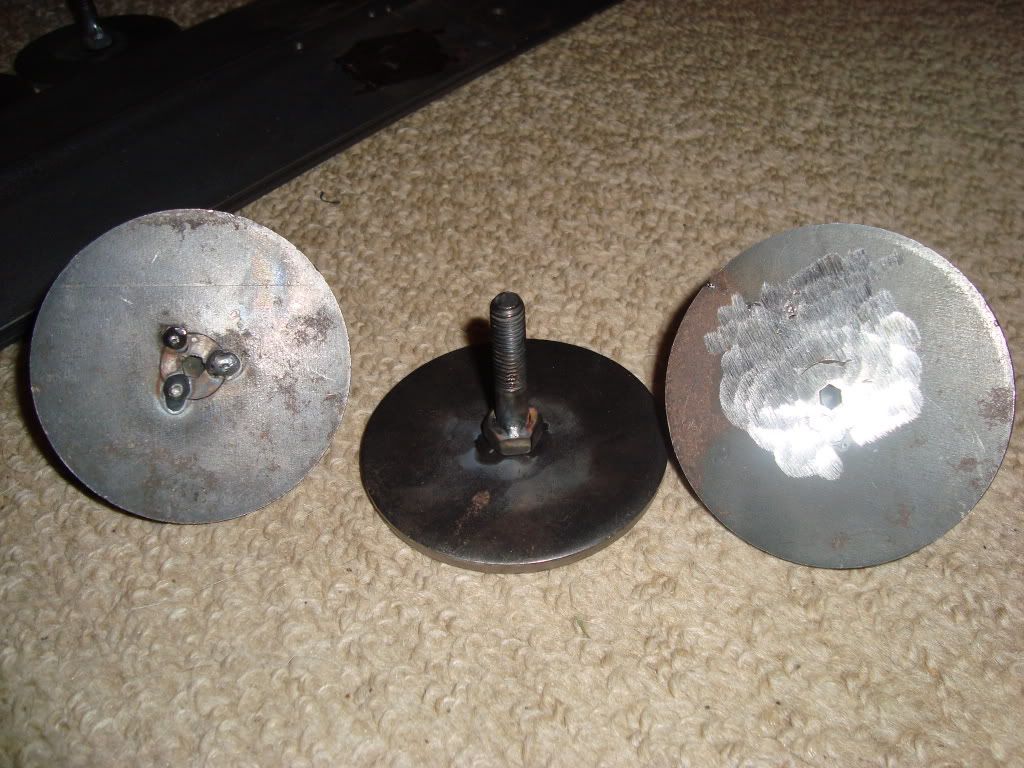
Two things I'm working on today and tommorow. First is the adjustable feet which gives us about 20mm of adjustment to get it all level and jacks the arena up about 60-70mm, which is good given the roof is lower.
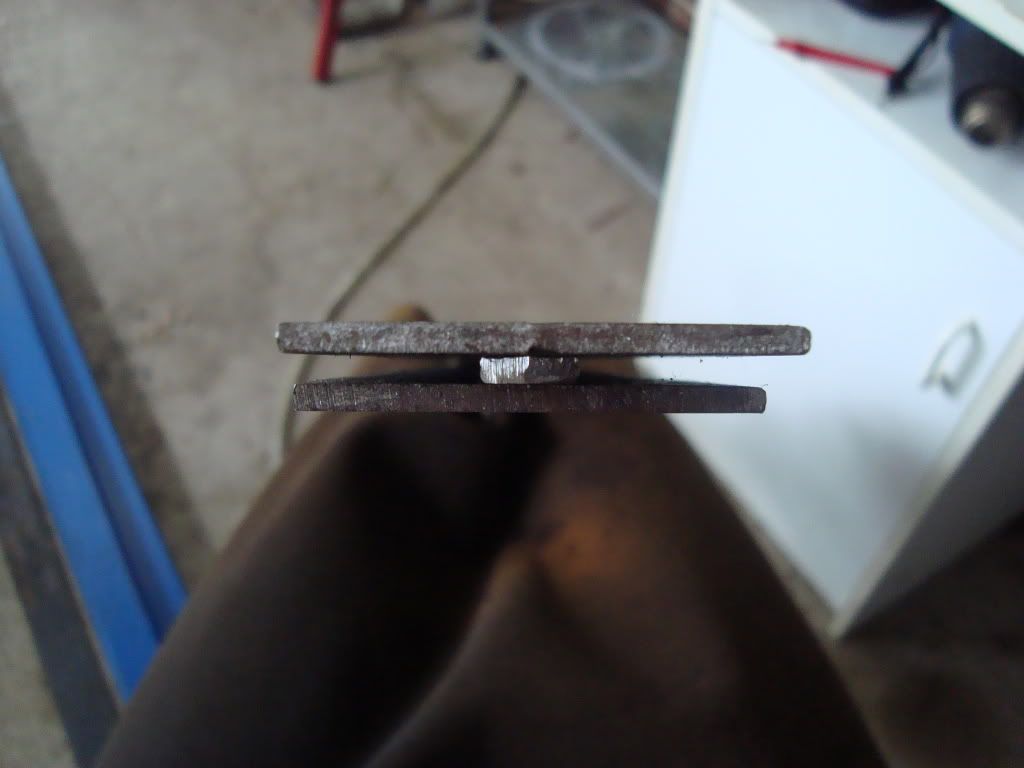
Disks were drilled and countersunk and the bolts placed through the middle to be welded. Turns out the countersunk bolts are bigger than the countersinking tool that i got, which meant the heads protruded out. That is A-class bullshit considering i got the countersink just for that purpose and its labelled as up to m8. UNHAPPY JAN.
None the less i lathed the top of the countersunks down and welded it all together. The left disk is the bolt welded on, the middle is the nut welded on (so we can adjust the level when there is weight bearing down on the foot) and the right is the complete thing once ive ground the weld down.
taddaa
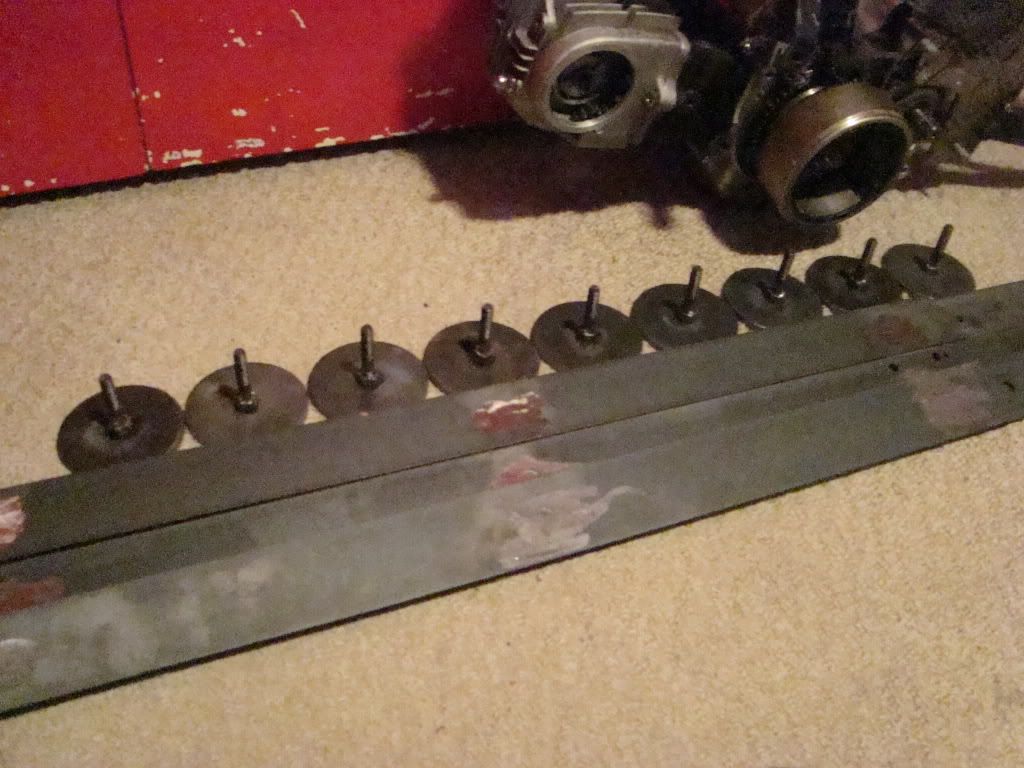
I'm not 100% sure if they will work that well, but we can always implement something more substantial next time if we need to. This lot only cost $20 anyway.
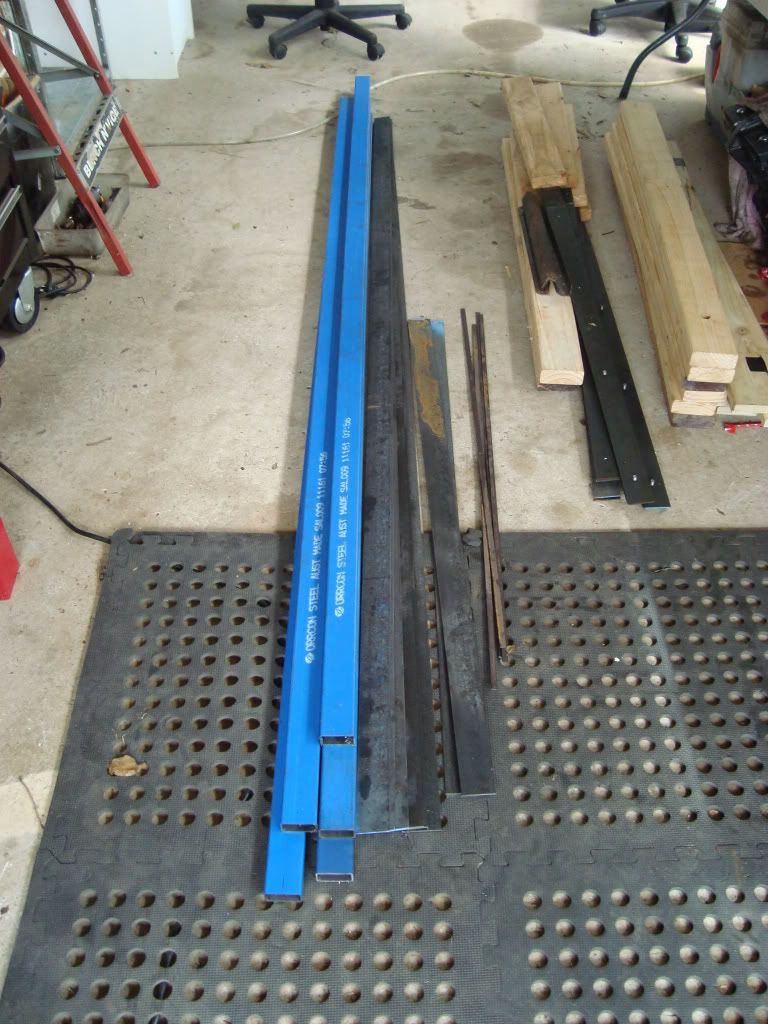
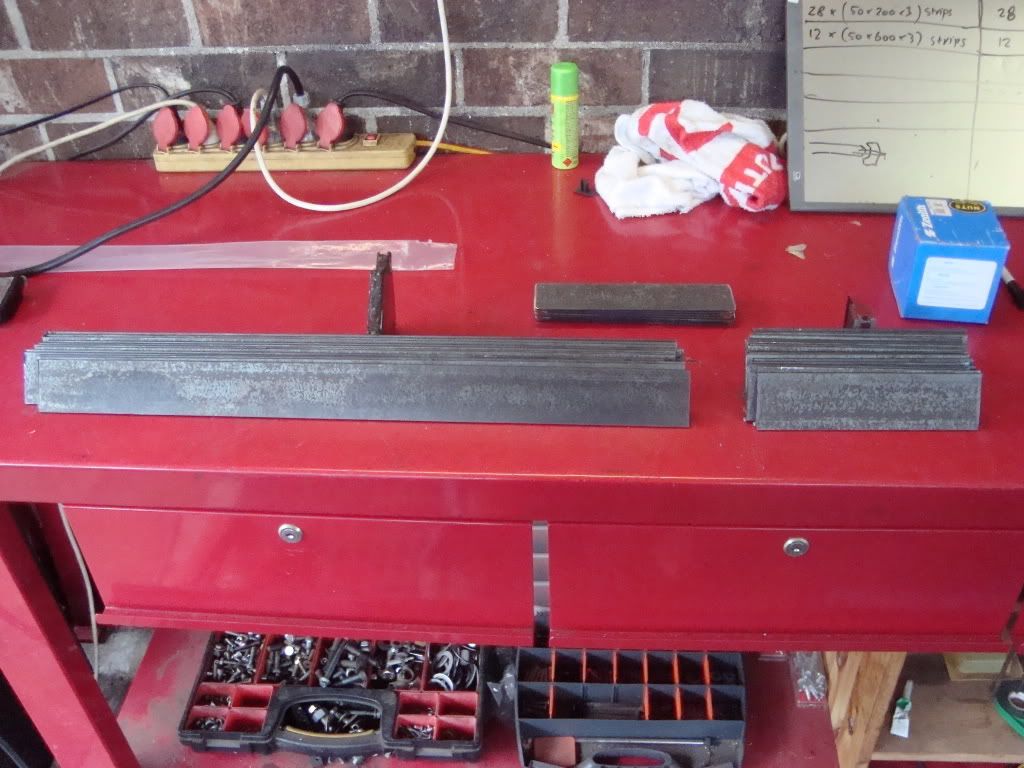
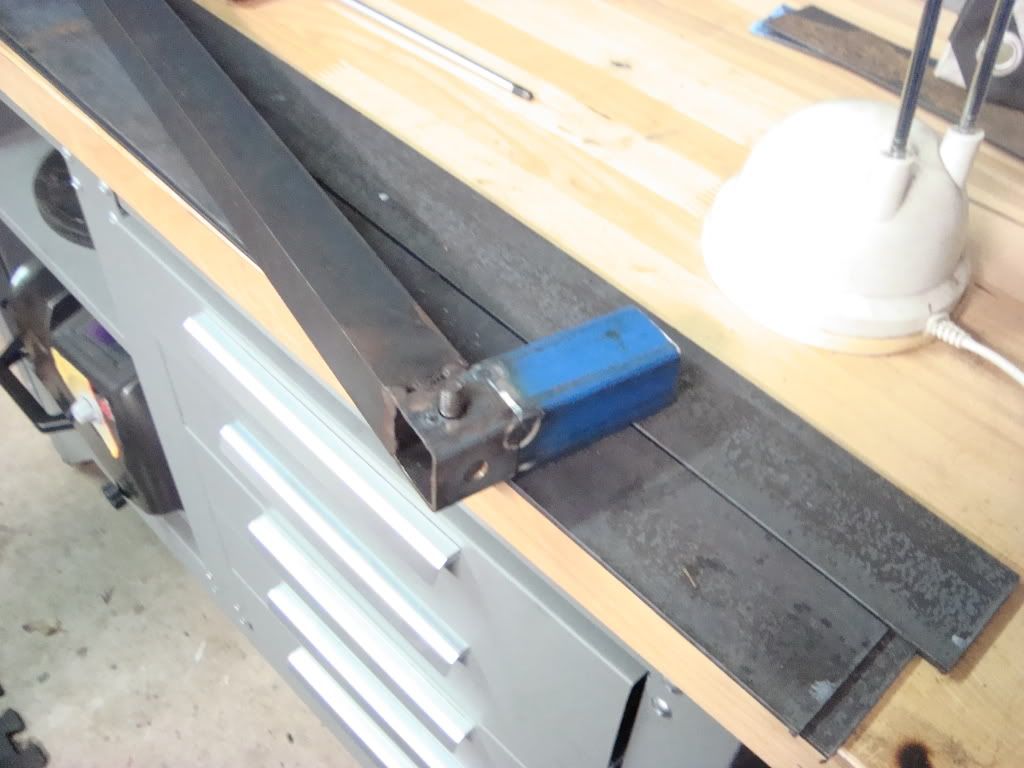
Also started on the extra 5 legs to be added. The plan is to have this 30 square box section welded to the bottom of the pieces, and some 35 square box will slide over it to form the leg itself. Hopefully i wont need to bolt it on. We will see.
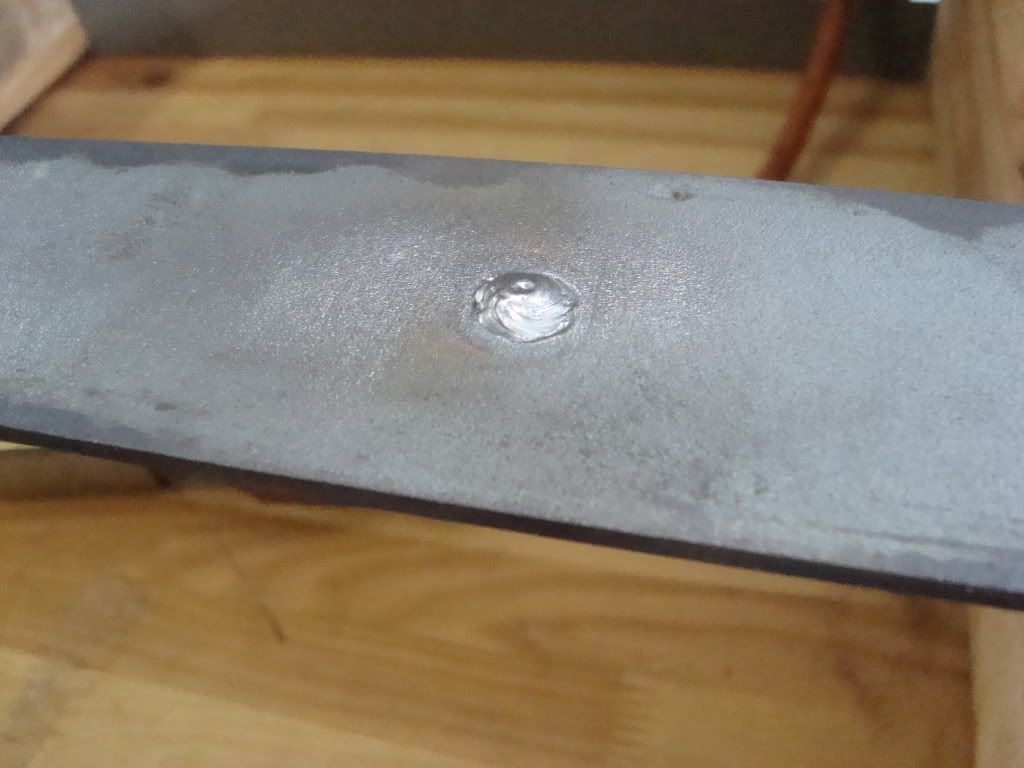
Also managed to weld a bolt into the tube so assembly should be easier. Ill probably do this to a few of the bolts that are real bastards to get in
That's all for today anyway. Next task is to finish up the legs and the beams really need to get done super asap. Better cad the bits i need up! x.x
_________________
www.demon50s.com - Minimoto parts
http://www.youtube.com/user/HyzerGlen - Videoooozzz
|
|
Tue Feb 07, 2012 11:07 pm |
|
|
|
|
|
|
|
|
|
|
|

 RoboWars Australia Forum Index
-> Builders Reports
RoboWars Australia Forum Index
-> Builders Reports