|
|
|
|
|
|
|
|
|
|
|
|
|
|
|
|
|
|
Glen
Experienced Roboteer

Joined: 16 Jun 2004
Posts: 9481
Location: Where you least expect


|
Decimator 1.3 Build
Just walked in the door from having an amazing time at Nats and can't sleep at all, so time for the 1.3 build report! Apologies for it though. Didn't end up getting anywhere near enough pics as the build was very rushed.
Started the build up to this event rather poor from a combination of looking after both my parents that have had a fair few medical issues this year + car and bike rego falling in the same month, so couldn't afford to hurl cash at it this time compared to the money dump that was the UK build. But despite that there was quite a bit of work that went into this revision 
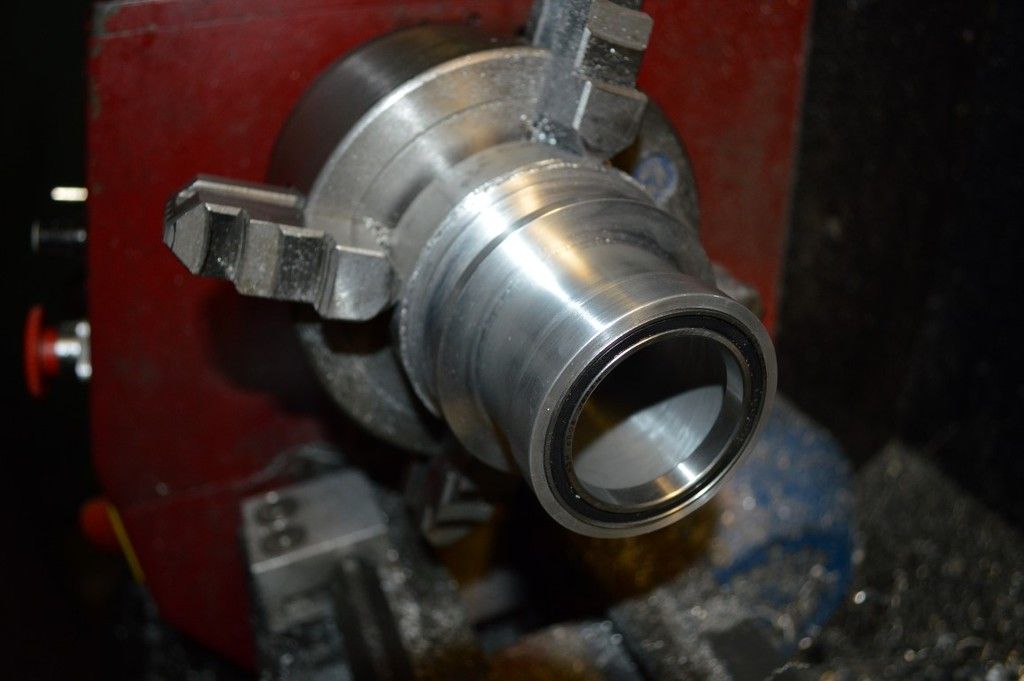
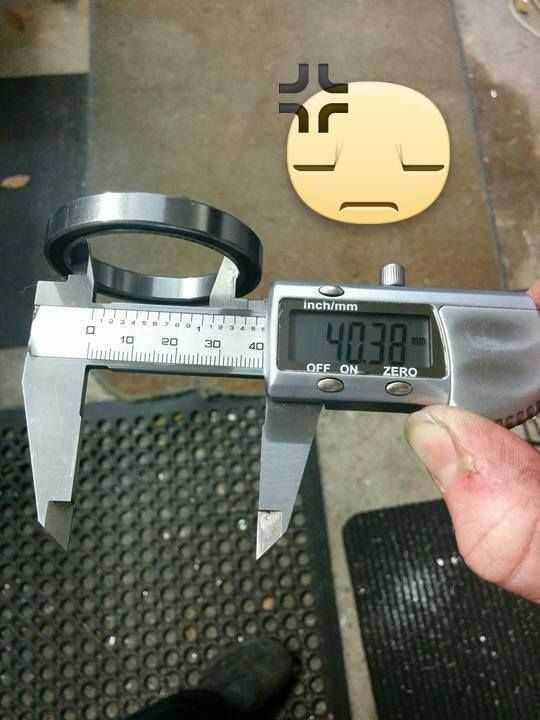
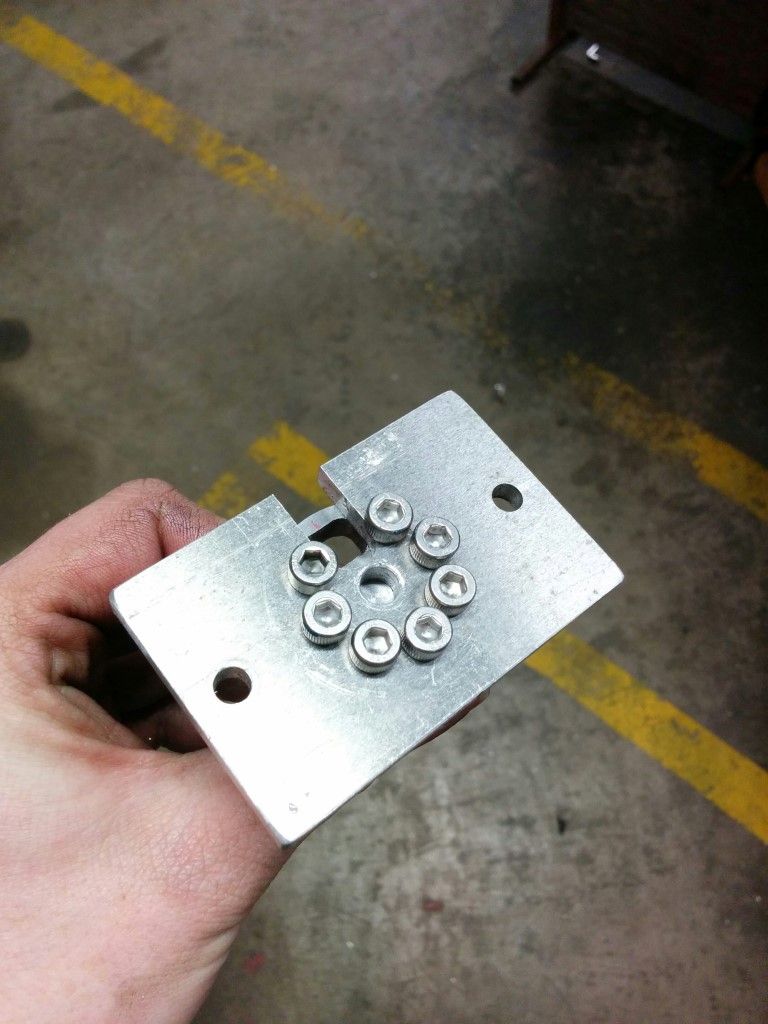
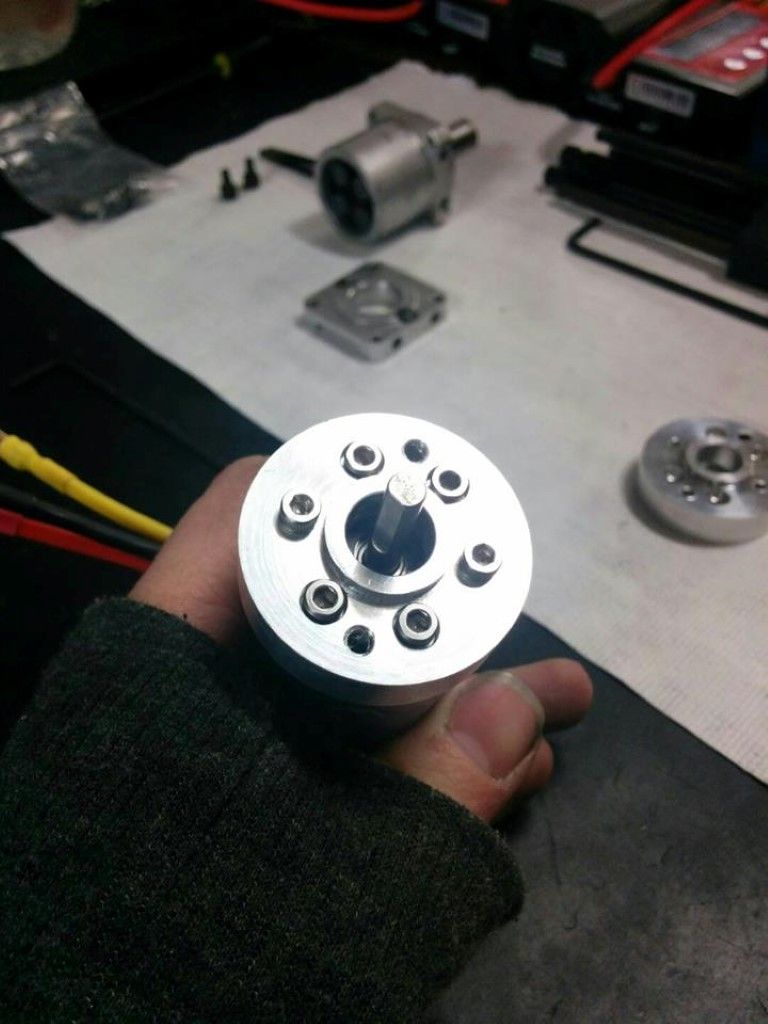
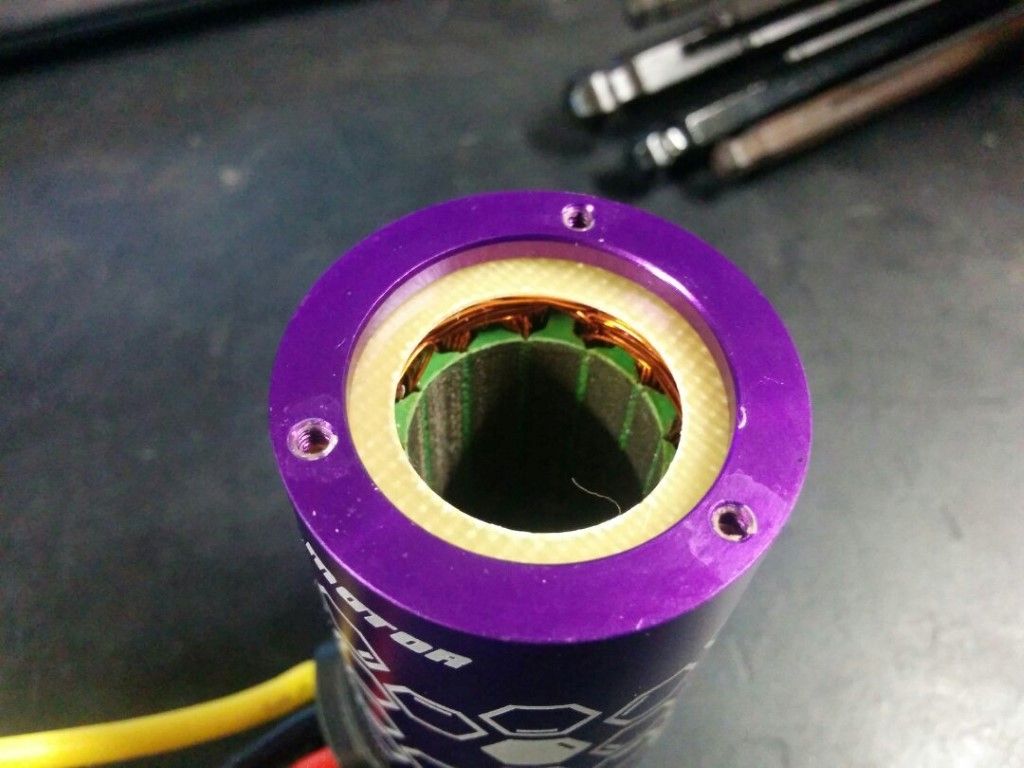
The biggest mod was the weapon motor. The old scorpion motors worked okay except after a fight or two the stator was splitting in half and rubbing on the magnets. After much head scratching trying to work out what was causing the stator layers to separate it occurred to me that the split was in line with the bearing that sits in a machined pocket on the stator laminations themselves as per this photo

Not inside the mounting tube as per most hobbyking motors. So my big modded scorpions were stronger, but merely shifted the failure point down the chain some.
Bigger mods required! I'd oggled the hub motor on Tim Bouwens robot Catharsis in the UK and loved the design, so naturally had to have a go at making my own variant. Conveniently hobbyking had a sale on the SK3 helidrive motors for $36 down from $70 each and the reviews seemed okay. And then there were donor motors
The SK3 helidrives are quite nice, you get what you pay for and $70 seems right. They have 0.2mm laminations like the scorpion, a very tight air gap and the magnet sizing is just like the v2 and v3 scorpion motors, though they are definitely weaker. Windings are tight but sloppy. I find the multi strand wound scorpions to be equally so however.
Oh yeah, here's the design. Fully supported at both ends of the can with a solid dead axle.
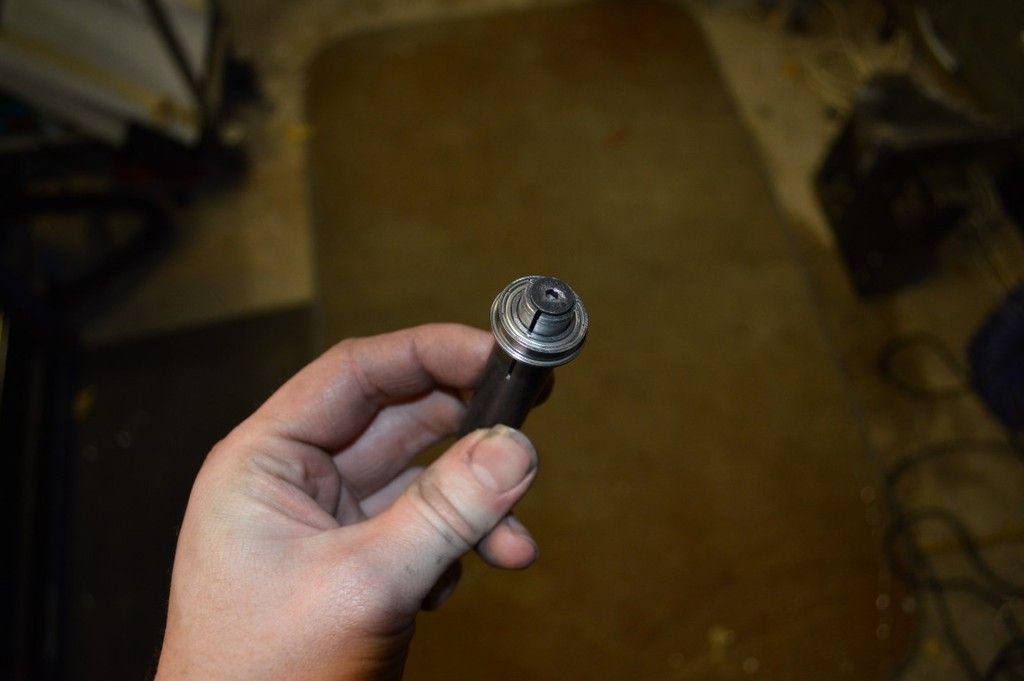
First up the fins need to be trimmed. Wasn't sure how to go about it, was floating about ideas of machining up a big stub mandrel to hold the end bell on etc but just gave it a go by clamping the shaft in the 4 jaw. This worked well surprisingly.
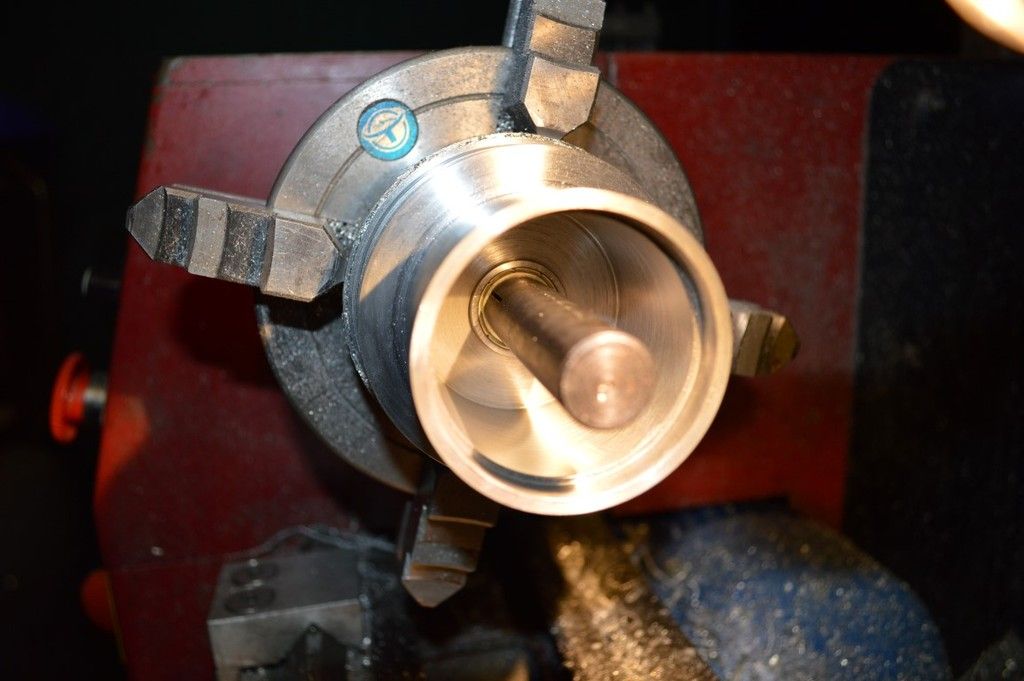
Parting off the end piece. Really hoping my eccentric engineering parting tool comes soon, this hafco one is a nugget!
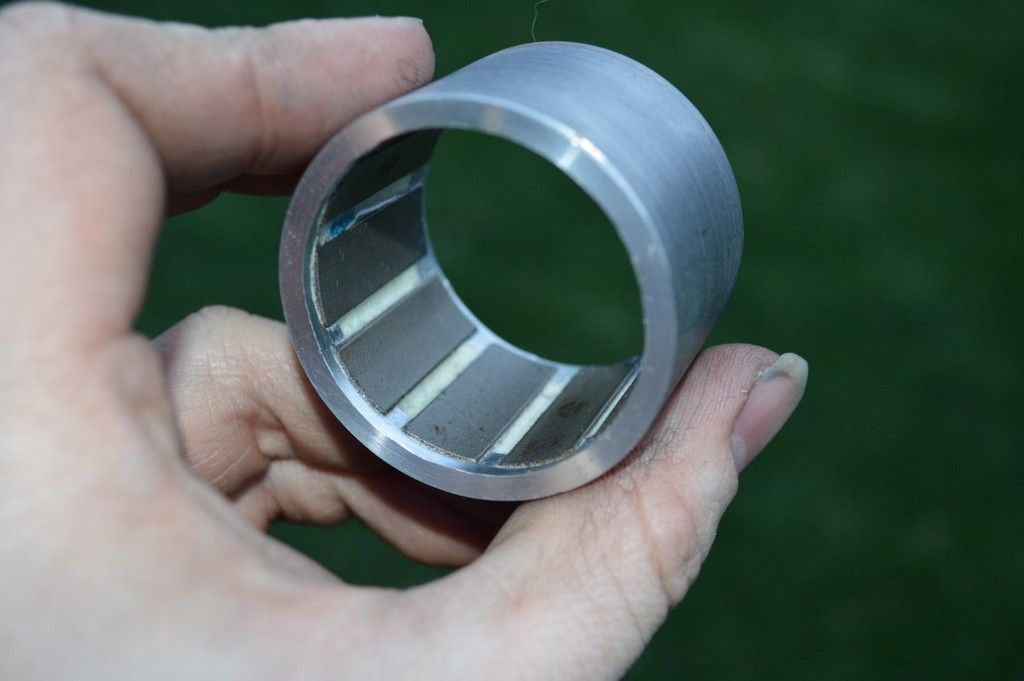
Done. I left the magnet ring as thick as possible while still removing the fins. Keeping all the top and bottom magnet retaining rings from the stock motor should keep things strong.
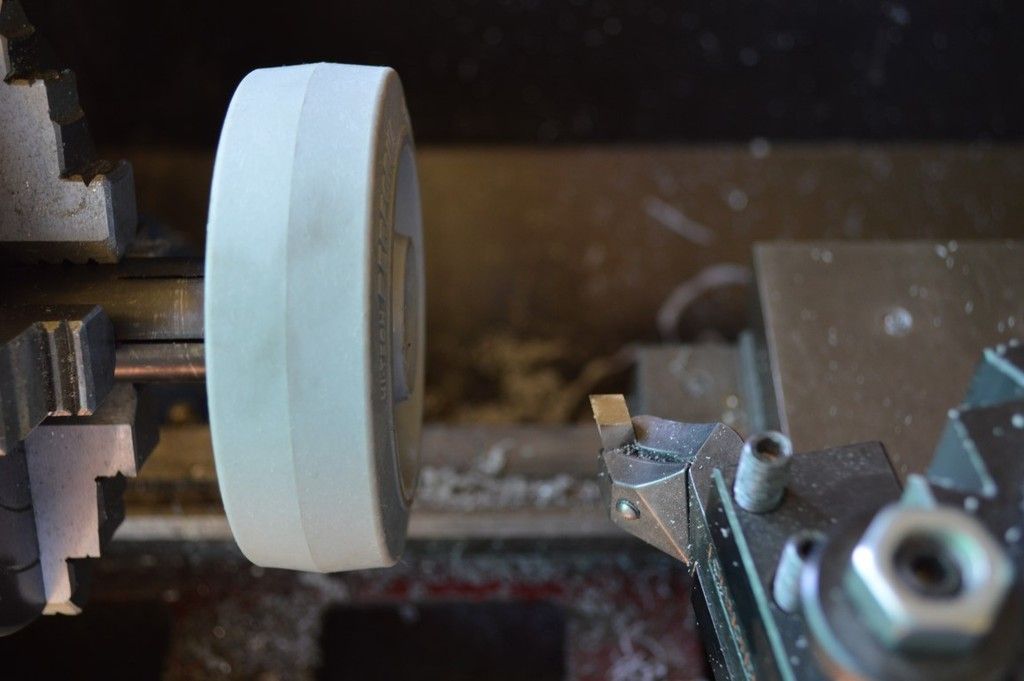
While waiting for the motor aluminium to show up, the colson wheels were prepared. They had to fit within the dimensions of the old banebots wheels so some machining was necessary. One thing that i just -HAD- to work out was getting a nice finish on the sides of the wheels. Every other attempt in the past had turned out rough as guts.... Sooo a bunch of whacky tools got made to try get that finish sweet.
Xacto knives cut perfectly smooth but no matter what angle or how far away from the edge of the wheel you cut, it will still follow the taper. Enter this monster made from a $12 stanley knife and some micro-tig welding.
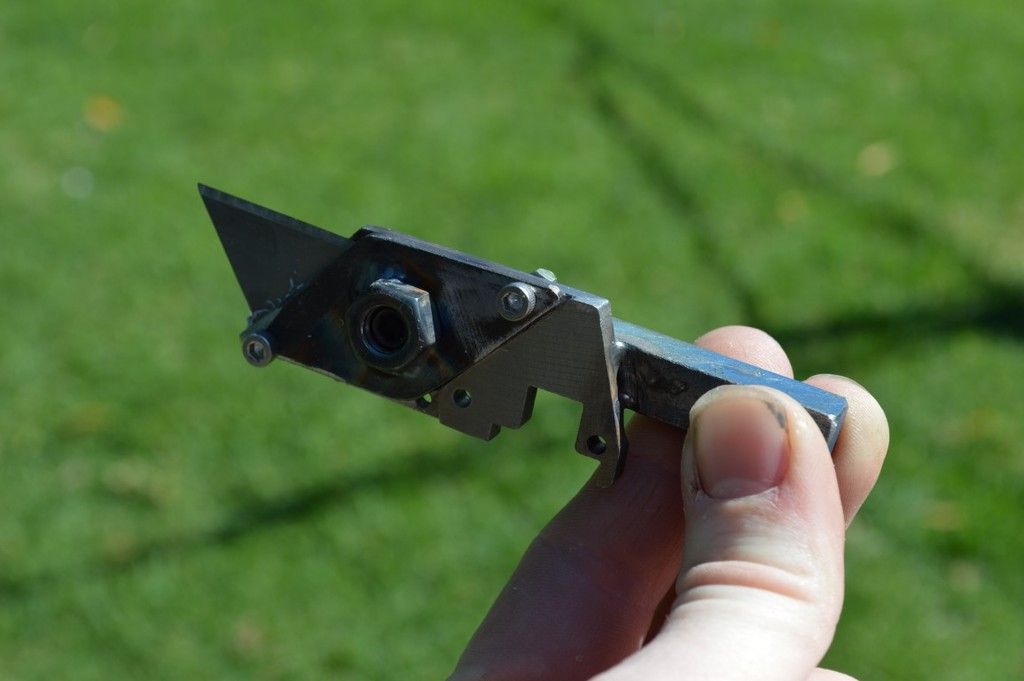
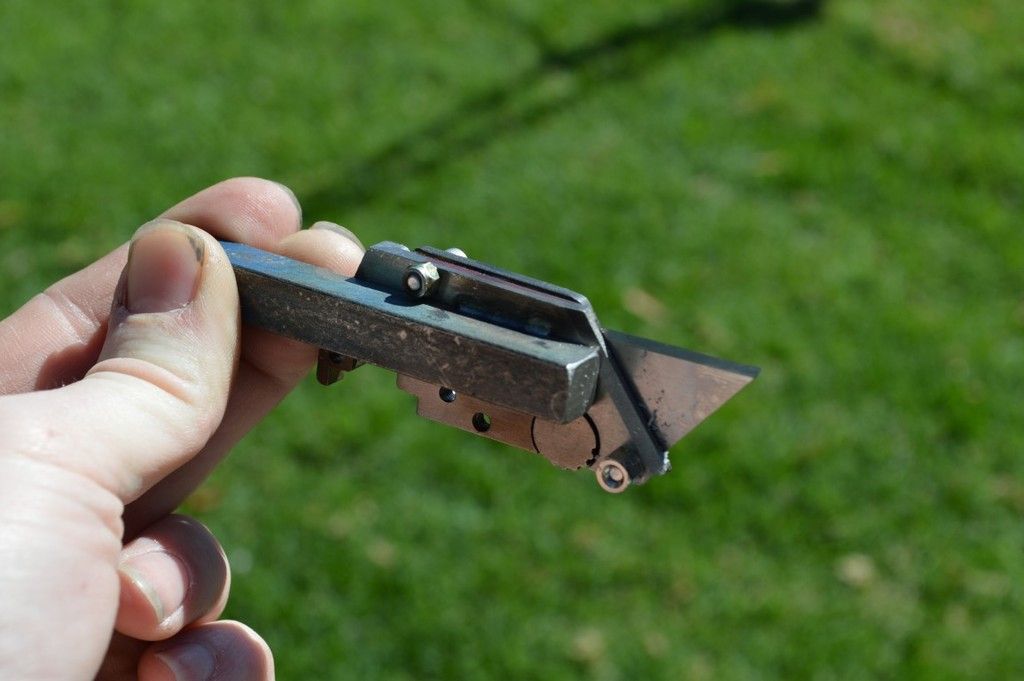
Anyway in classic Glen fashion it still cut along the same taper as the stock wheel.. Got annoyed and just reverted back to whatever random cutter was in the lathe to finish the job. Of course, it cut perfectly. GAWD DANGIT. The wheels are squared off and a small pocket turned into the face to cut out some weight.

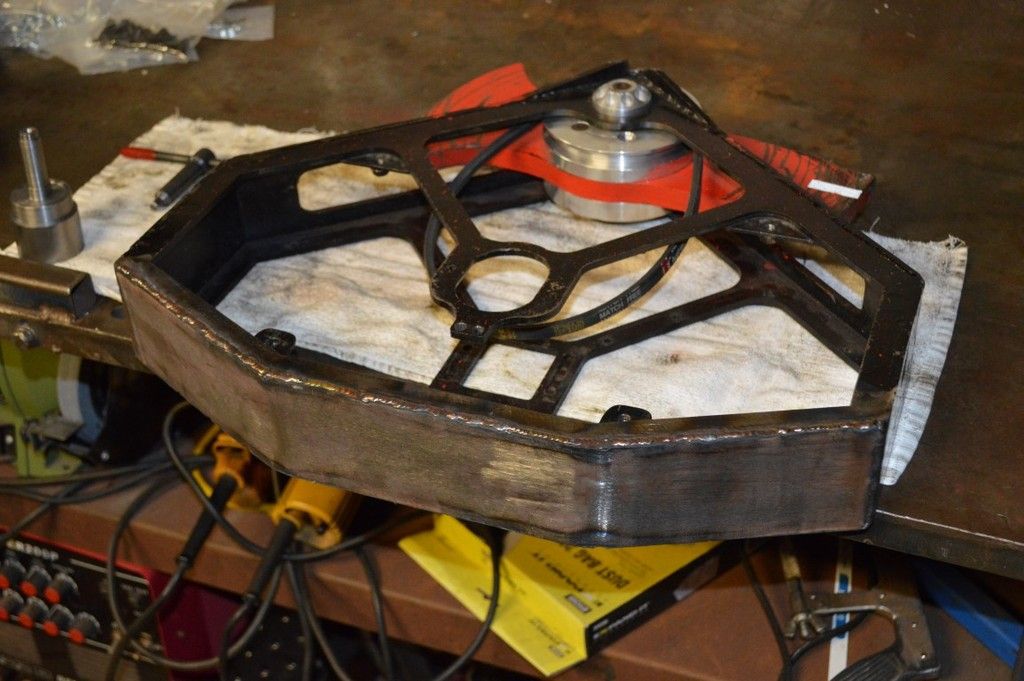
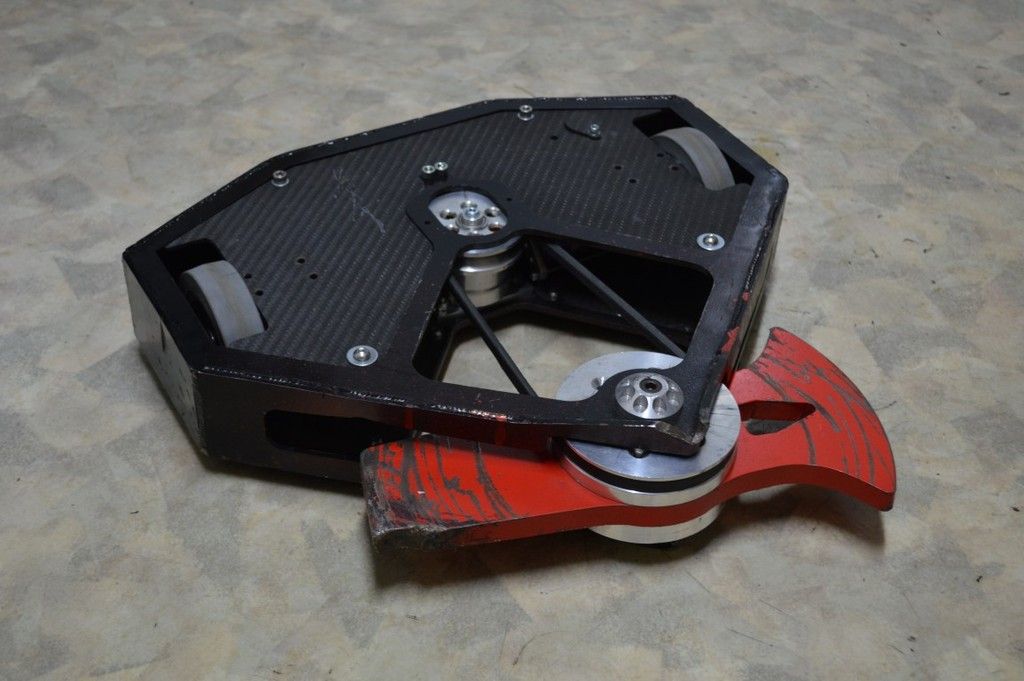
Flying off on another tangent now. Had to think of ways to save weight as the colson wheels and modified motor were sure to weigh more than its uk spec that was close to the limit. Also wanted to add a larger battery, so the only thing that could sensibly be done IMHO was to cut the ass off as it was made from 5mm everhard 450, then replace it with 3.2mm hardox, which would save nearly 500g. Huge! Plus being one continuous piece might arguably make it stronger due to not having 2x weld seams on it.
Prepping the patient for surgery.
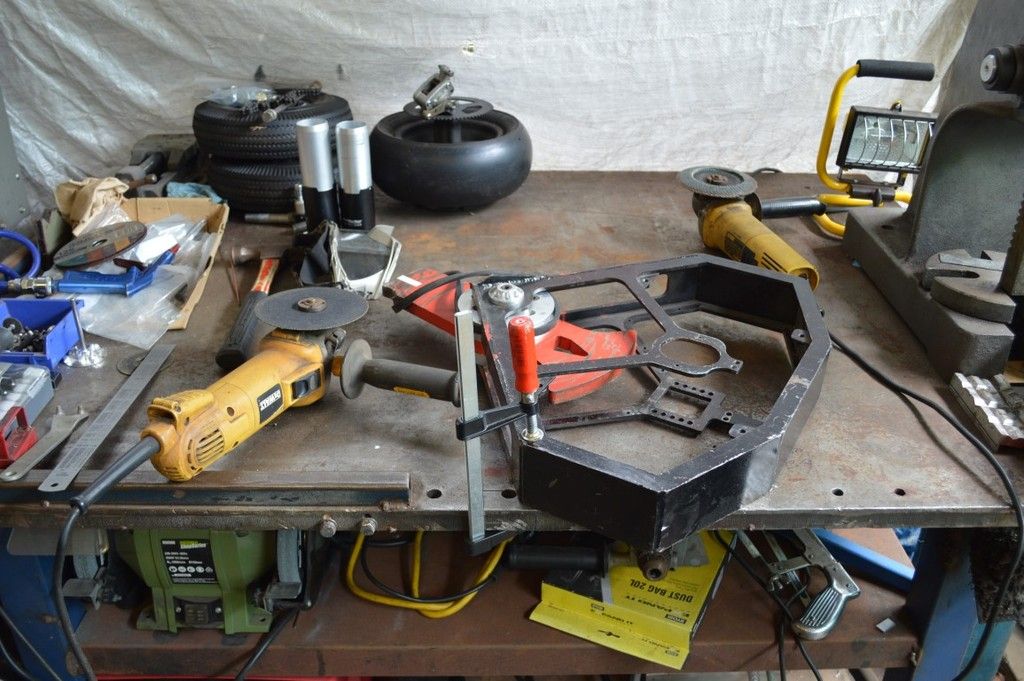
Scribing the cut lines. I didn't want to take off any of the top or bottom plate at all. Needed to be very accurate here.
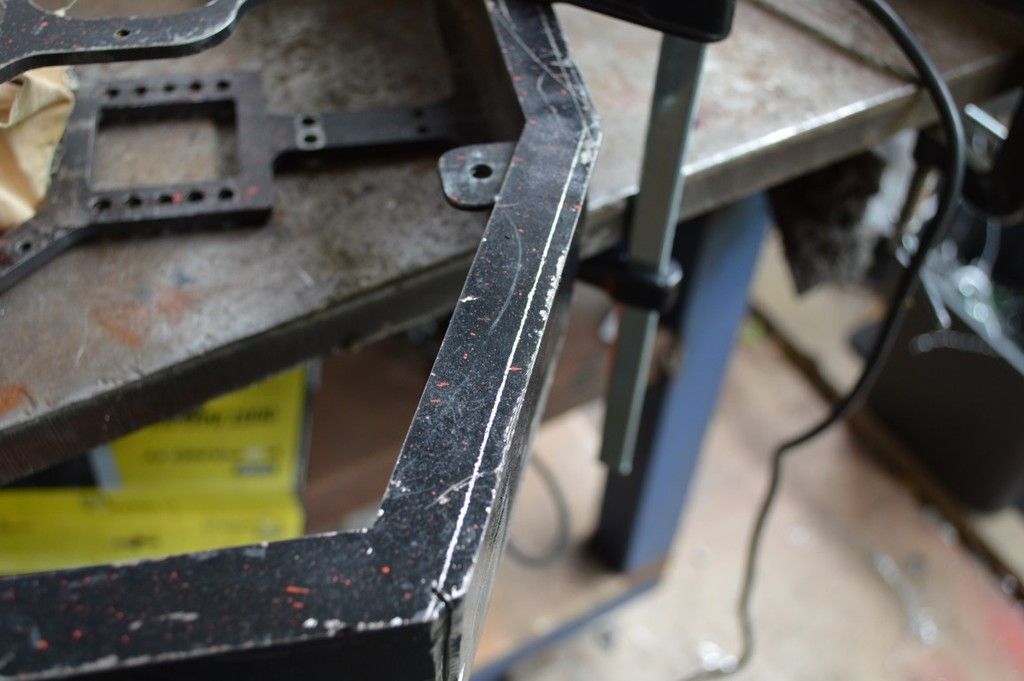
First cut done *bites nails*
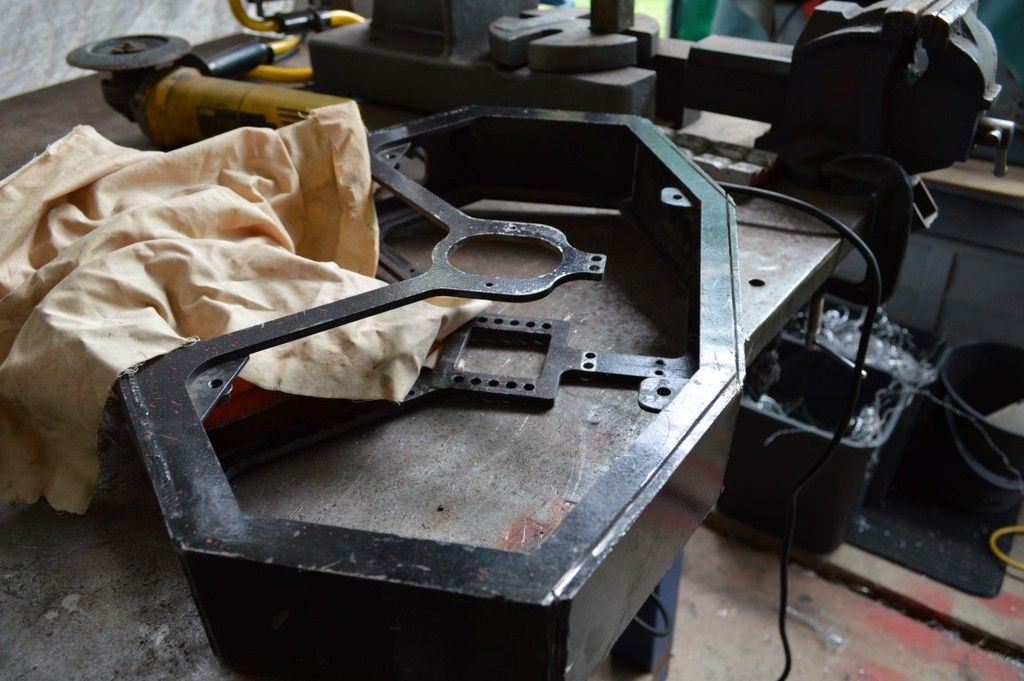
Ass removed. Pretty darn chuffed with how straight the cuts were. Grinder master 
Now for the replacement. Thanks muchly to Aaron for handing over some hardox in exchange for welding some turbo piping. The plan was to take it to an engineers place through the week to have the piece bent, but figured that it was Saturday so why not give bending it myself a crack.
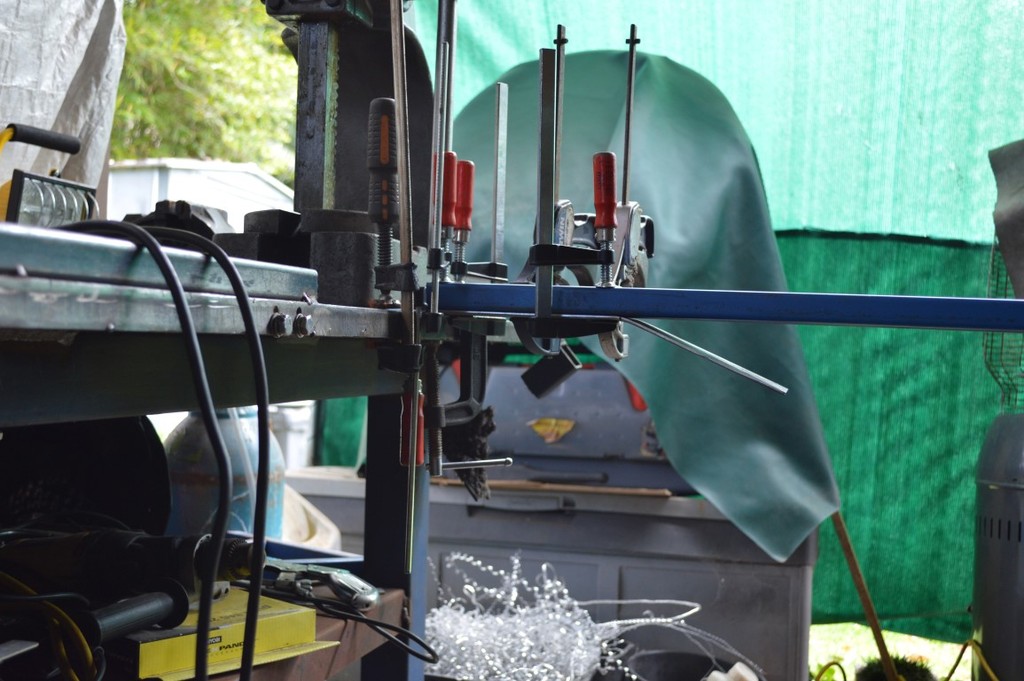
Highly technomological jiggity jig. Clamped 1.2 meters of SHS steel to the 70mm wide strip, clamped the other end to my huge welding table with the arbour plonked on top and levered like I've never levered before. You the man Archimedes.
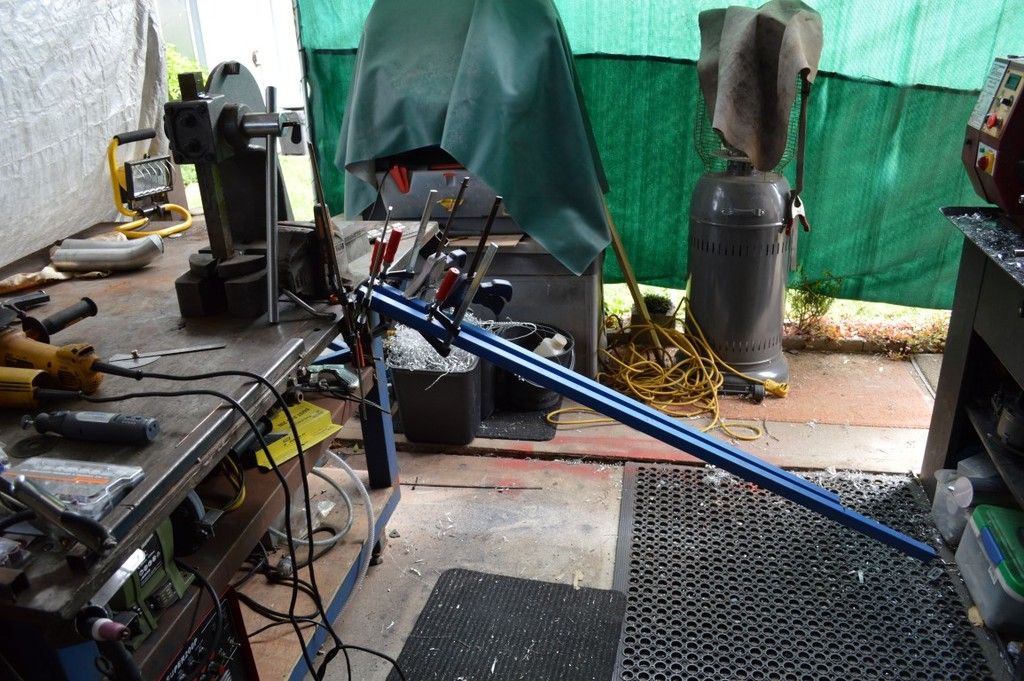
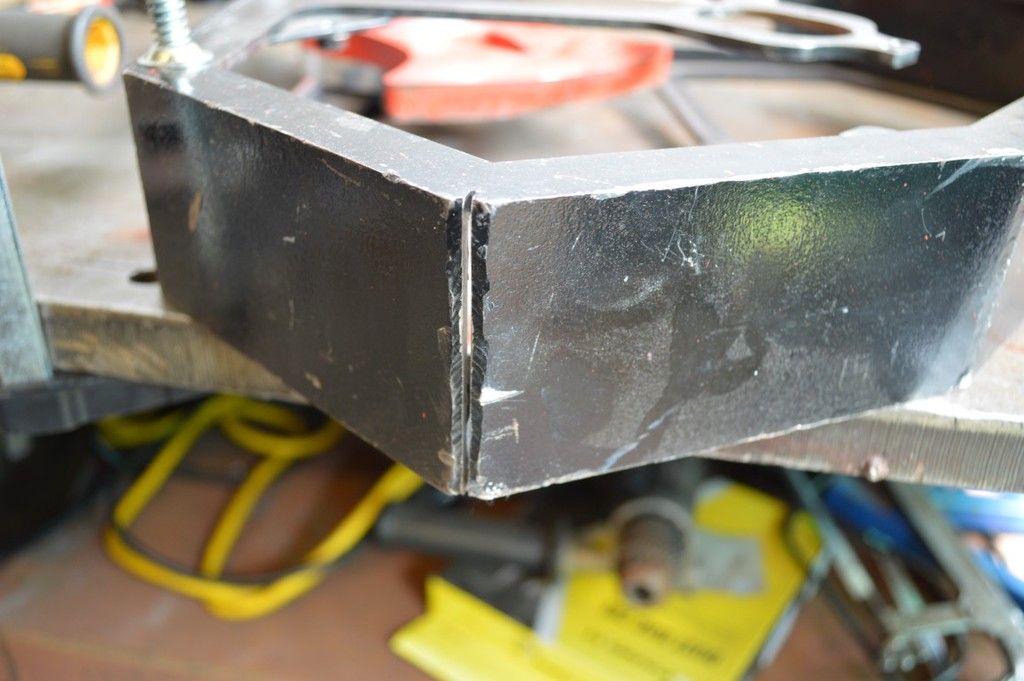
Amazingly it worked. There was just enough height on the table that the piece could be bent to the required amount. Hardox has so much springback. The first corner is bent in the pic here. Working out where to put the 2nd bend was tricky indeed. 5mm before the actual bend line was the magic number today.
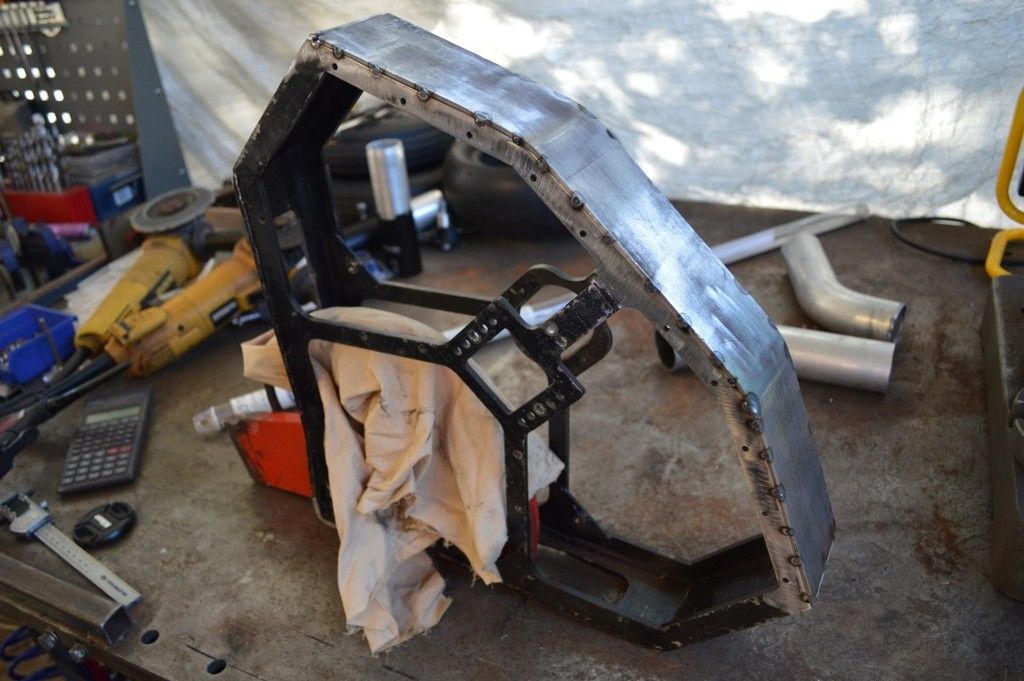
How sweet is that. Perfect 
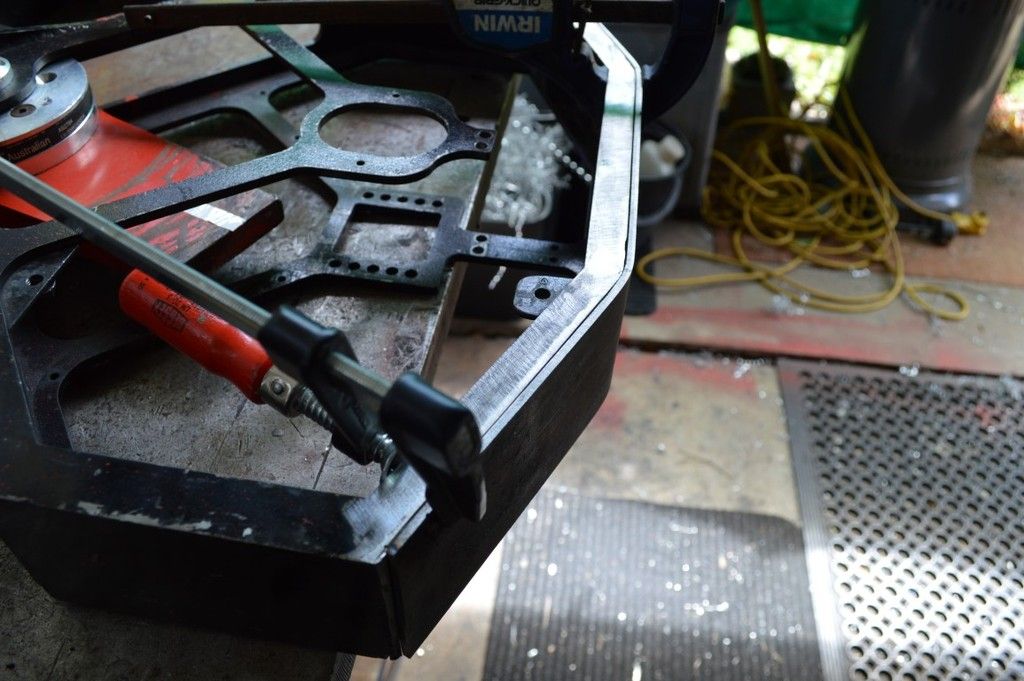
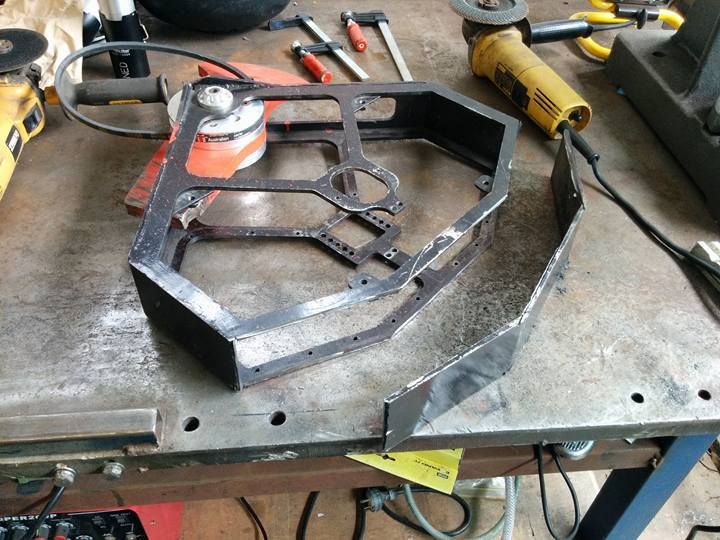
Lots of fusion tacks before the real deal welding which wasn't my greatest honestly, was in a crap mood while doing the lot but its strong and the heat affected zone is small enough. 1x butt transplant complete.
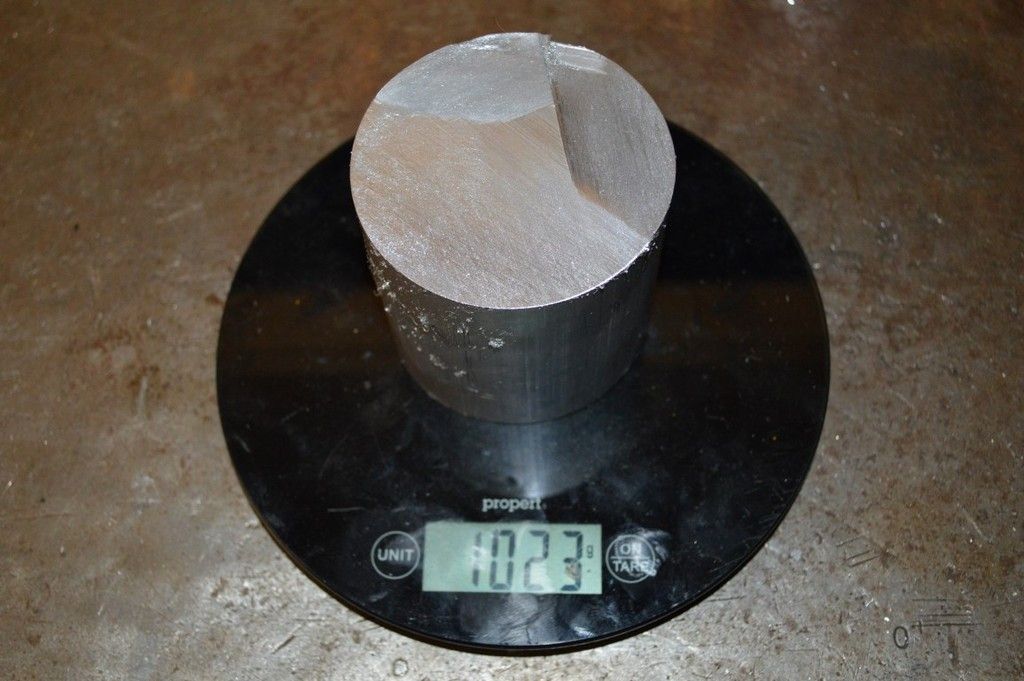
Back to the motor. Made it from cheap 6061 this time to save money. This then becomes 108 grams. Doesn't seem as though many pics were taken of this part as it was really a rush.
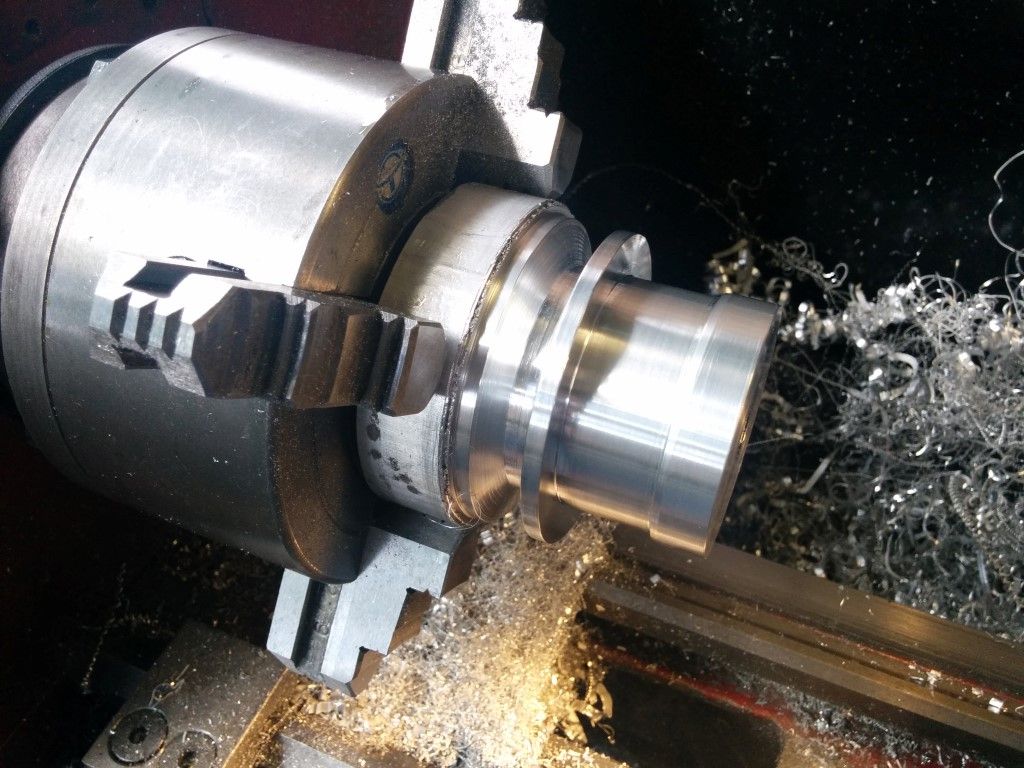
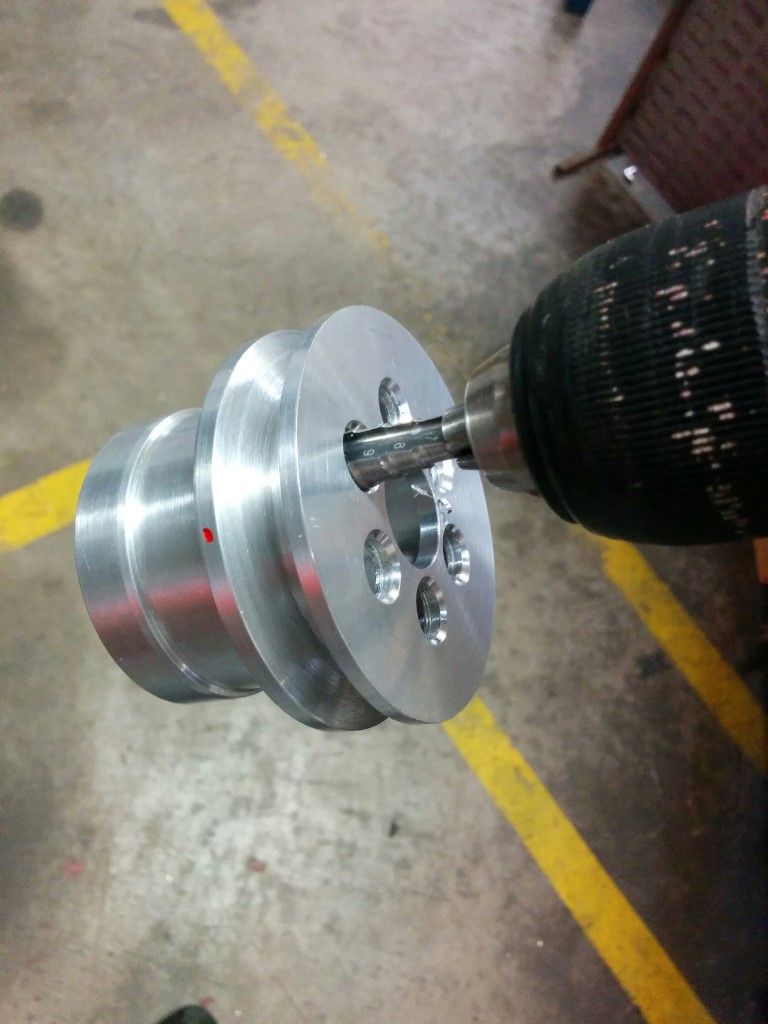
The main change vs any previous motor / weapon hub I've made is that this all gets machined in one jigging up of the part in the lathe. No matter how OCD and accurate i get with rechucking the part - the fit is never just perfect. This time both bearing bores and the IDs + ODs are machined in one go.
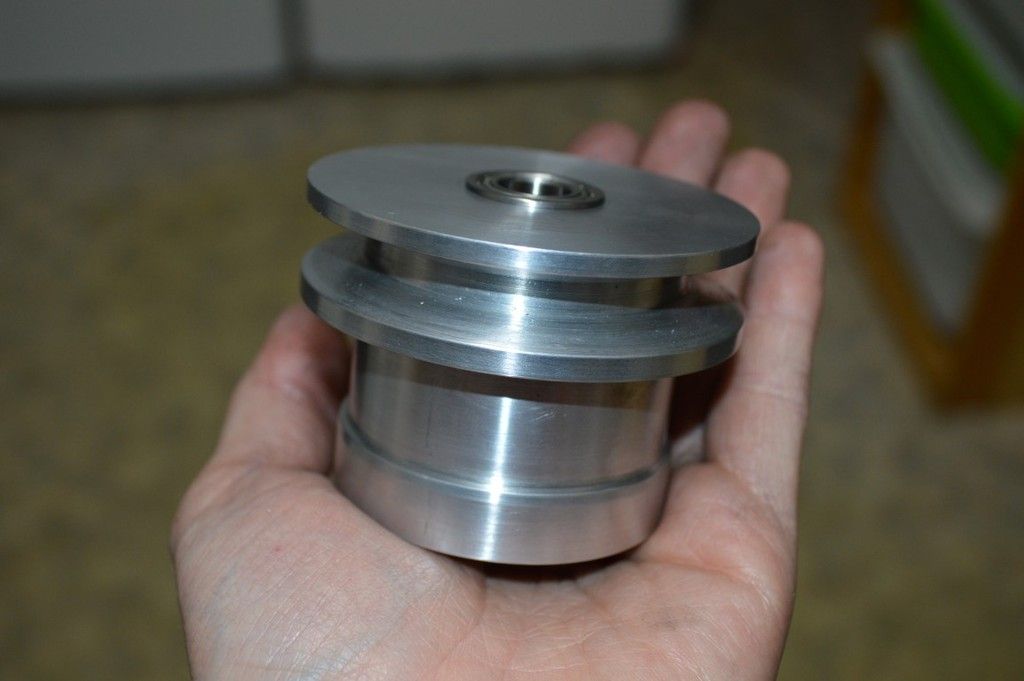
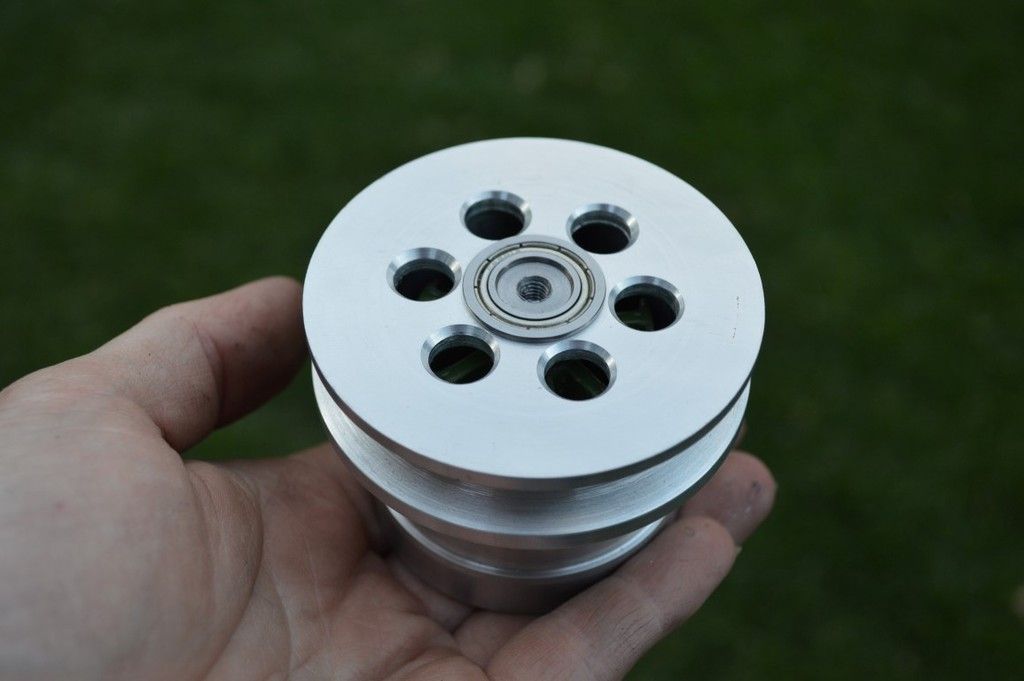
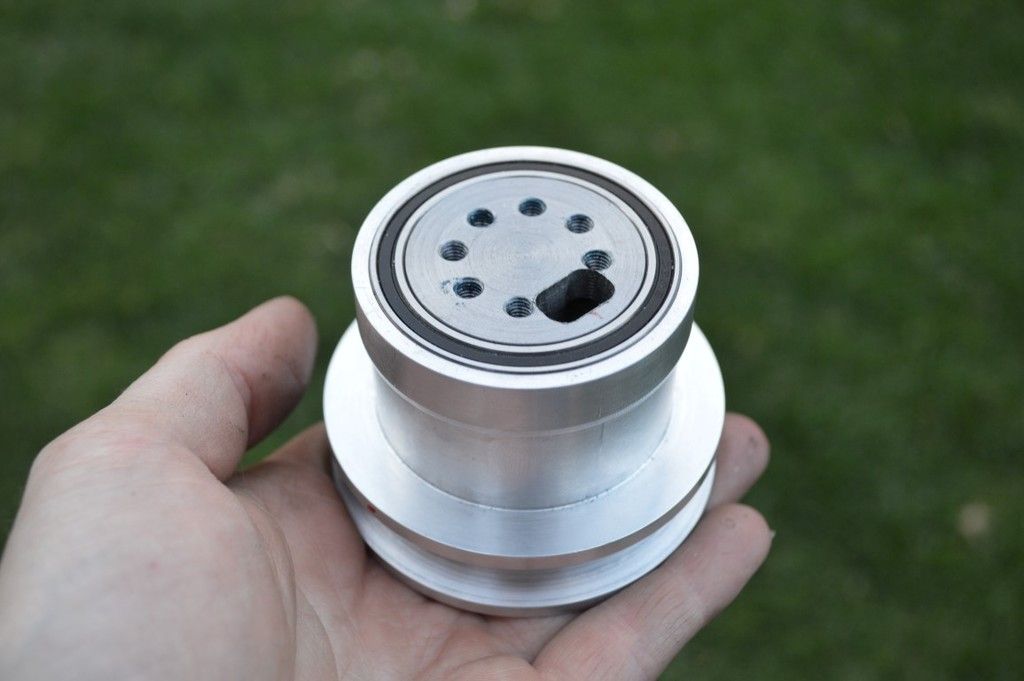
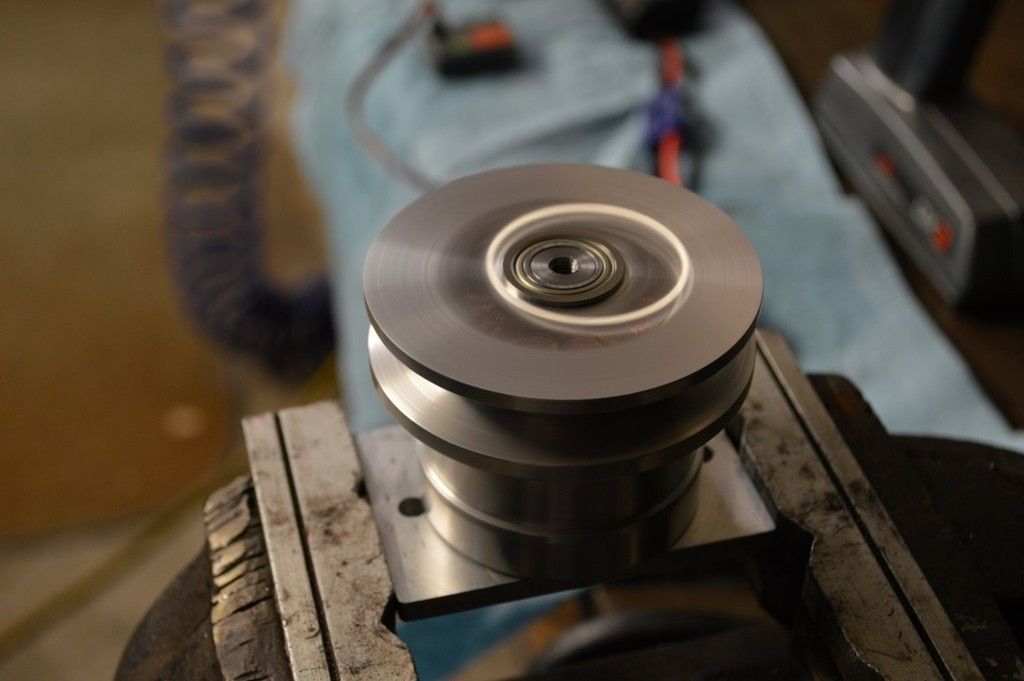
Here's the finished outside. Weapon pulley is integrated into the can. The flare at the bottom is for a big 40mm ID thin section bearing.
Bore for the magnet ring which will get loctite 680'd in later.
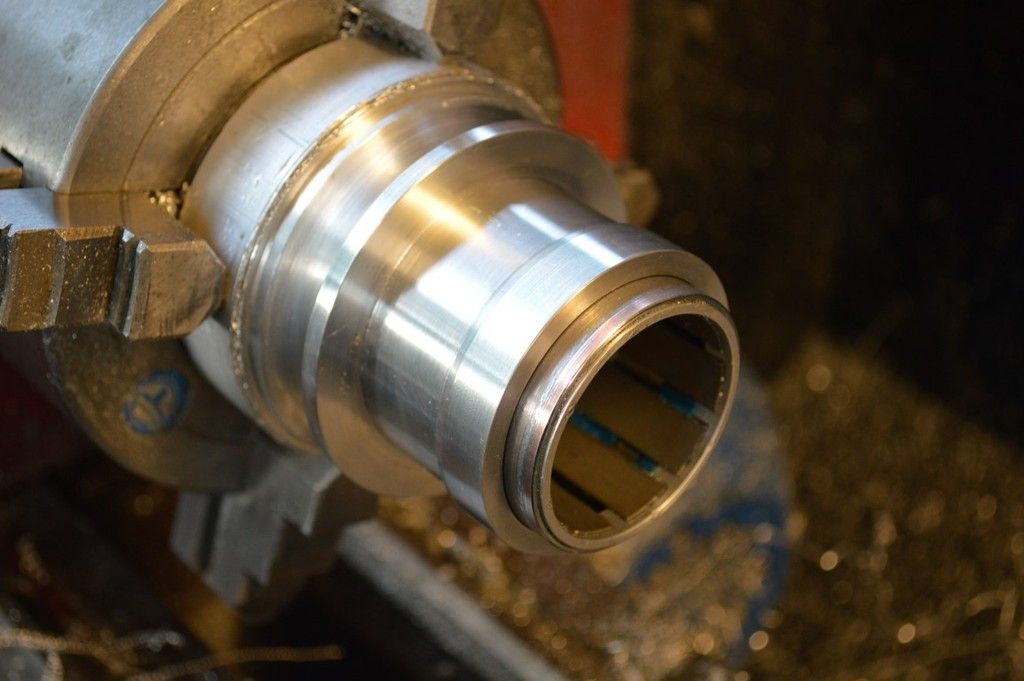
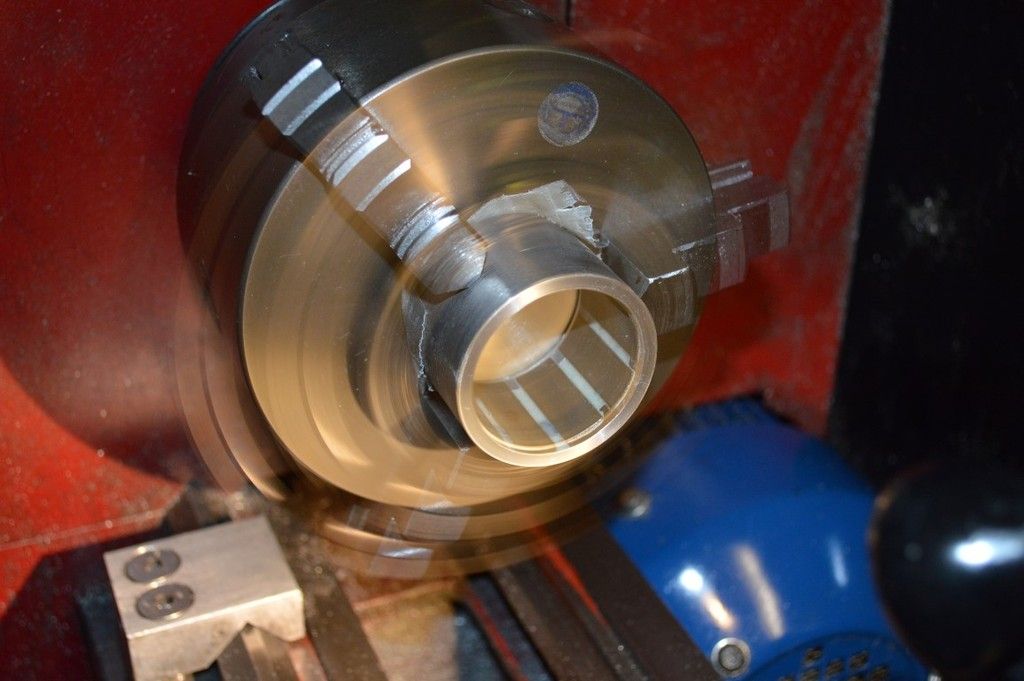
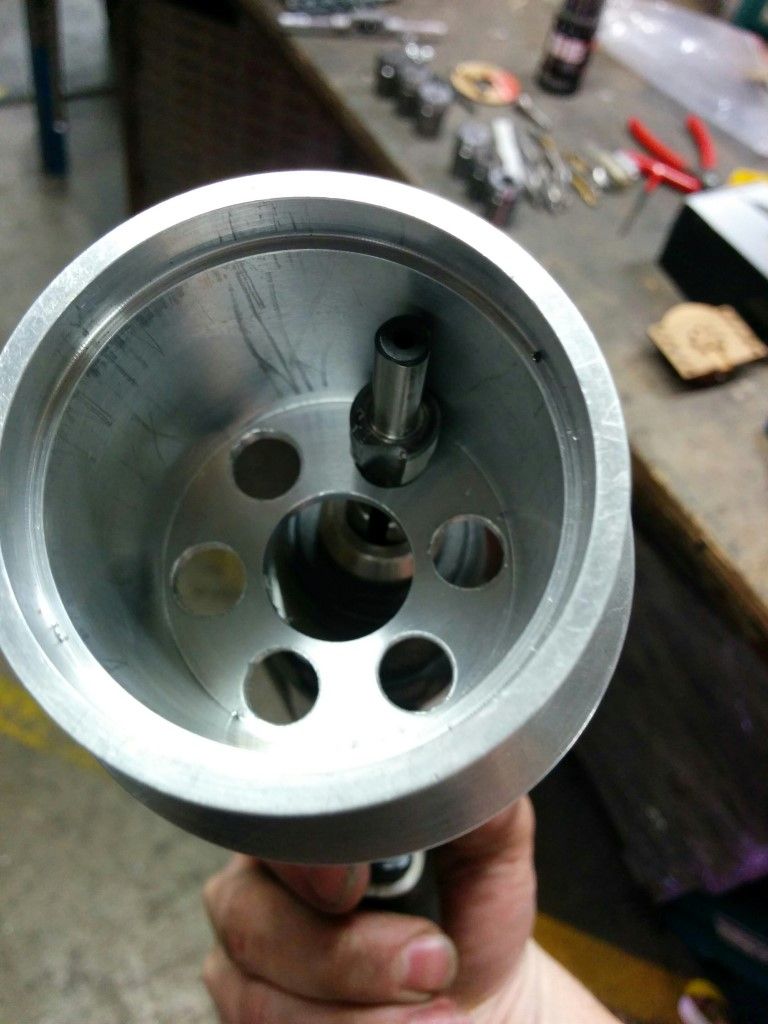
Thin section bearing in - these cost $70 each btw  The fit also took over 3 hours to get right. Probably 20 passes at <0.025mm each then sanding to be a perfect slide fit. Essential so the motor can actually be assembled. The fit also took over 3 hours to get right. Probably 20 passes at <0.025mm each then sanding to be a perfect slide fit. Essential so the motor can actually be assembled.
Now probably the hardest part. The tiny widdle top 12mm flanged bearing needed to be bored accurately for a tight press fit all the way up inside the main bore where calipers wouldn't go. So this is basically the only time the bore gauges have been used with 100% faith. Amazingly it worked without much pain at all. Very happy lad right here.
Nice finish too. Love that diamond tool holder
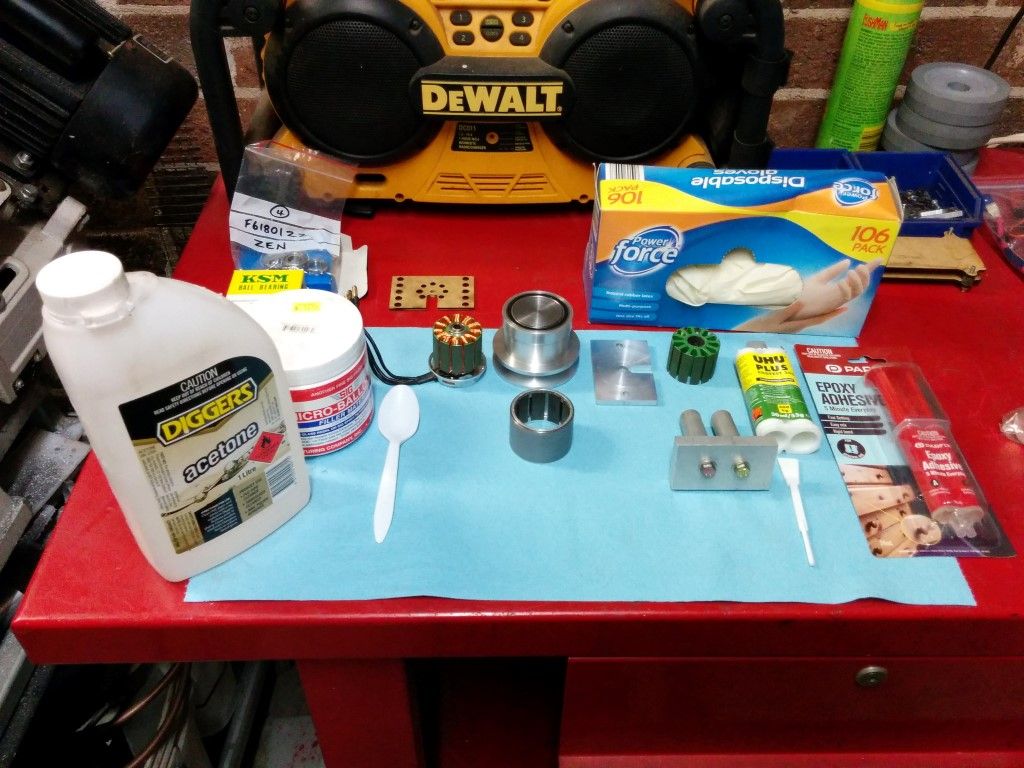
Gotta battle harden the magnet ring with some epoxy. I like to use slow setting $5 epoxy with microballoons, but didn't have any on hand, so used the crazy expensive uhu endfest glue. Well at least they aren't moving. My technique is to smear it on with a wooden paddle pop stick, wipe off the excess with an acetone soaked rag then spin it up on the lathe for a few hours. There's pics of the completed work later on.
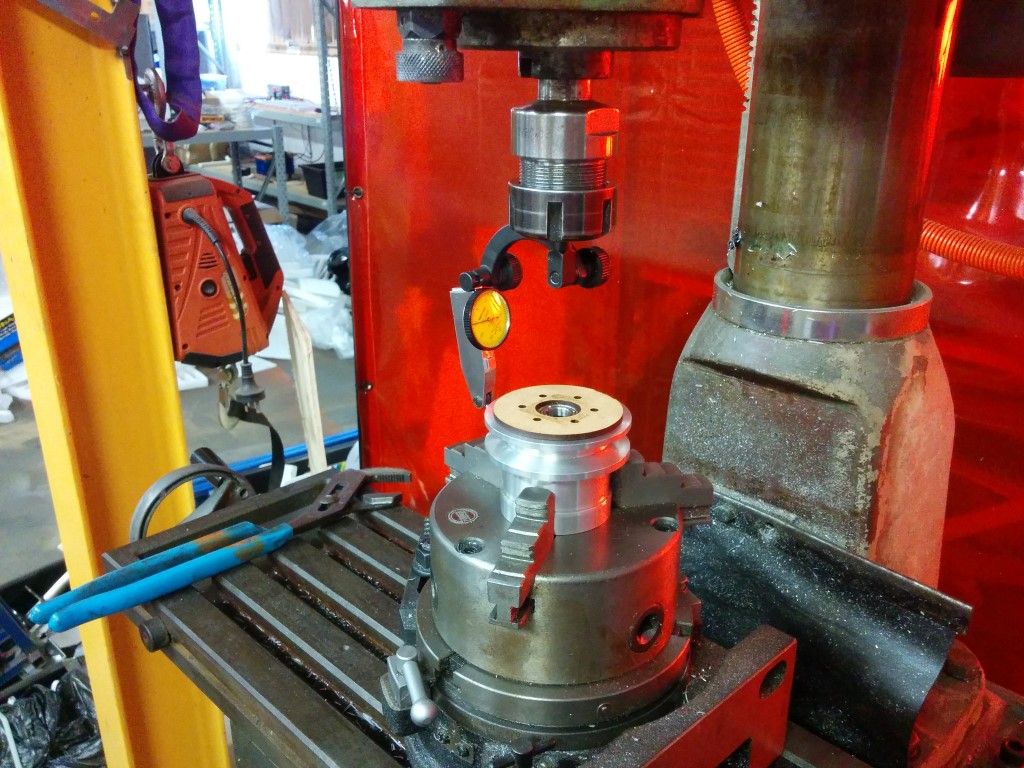
At this point I'm about a week out from the event and needed the rotary table to finish the weapon motor mount and stator tube. Unfortunately i had gutted the mill for the CNC swap and had to use our one at work on the public holiday monday (cry). Until then it was time for some other experimentation.
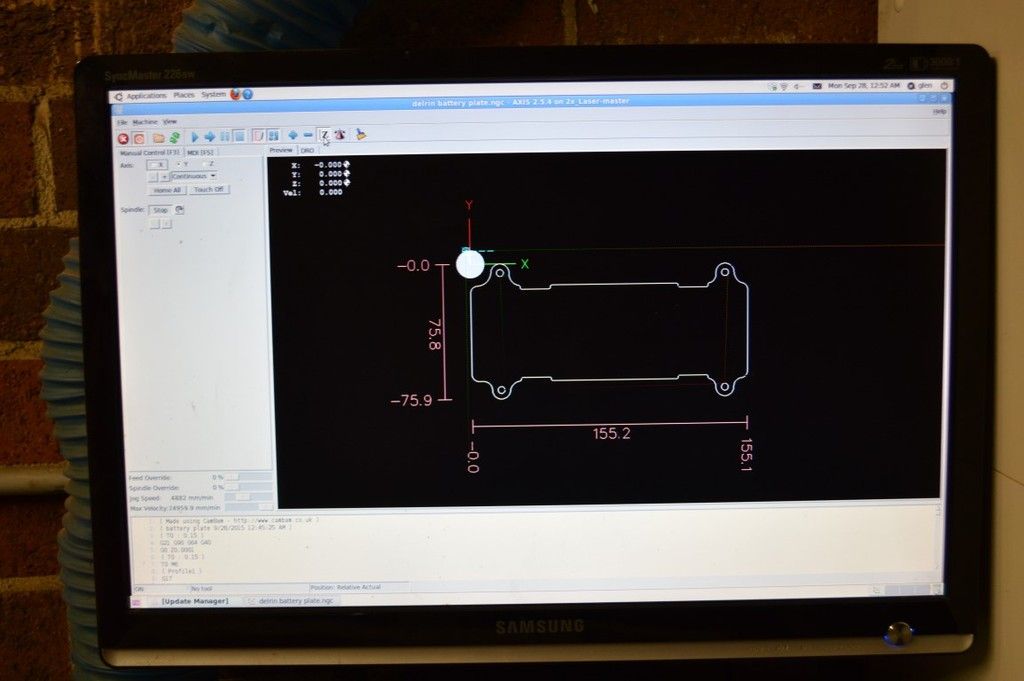
Delrin / Acetal plastic is said to be quite strong and laser cuts amazingly well. With no time to get any plastic bits properly lasered out of uhmw or hdpe, figured this would be the perfect time to give lasering my own delrin parts a try.
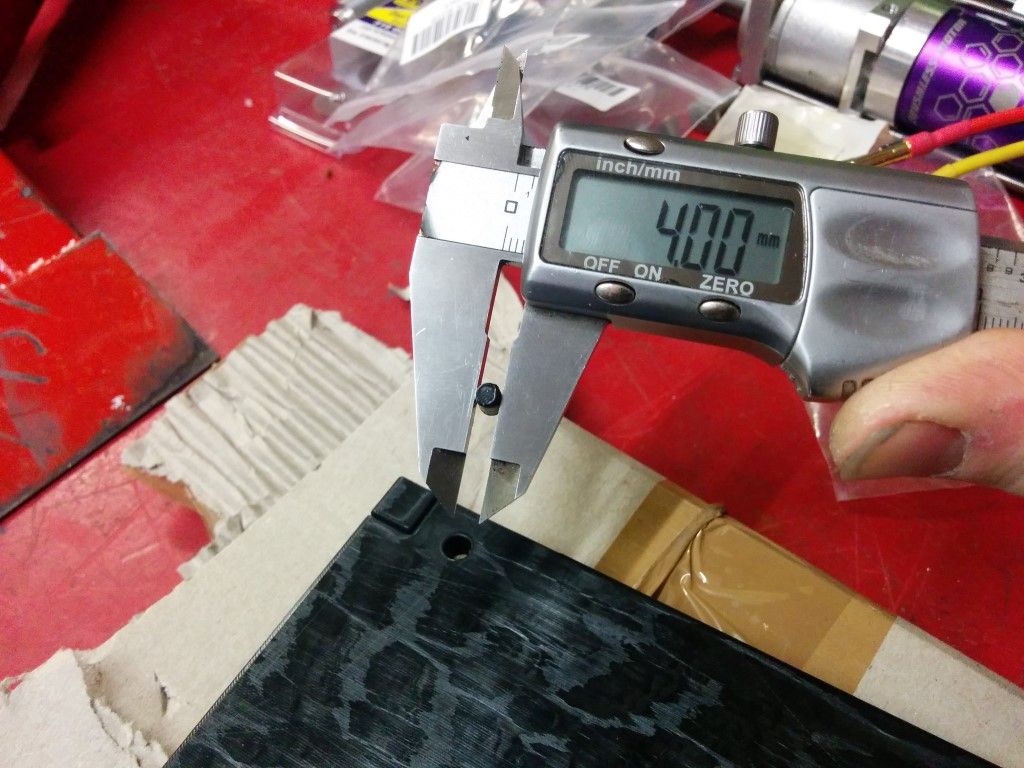
On that note 4 good sized 6mm thick panels for $130 were obtained at plastix. Check out the funky extruded finish
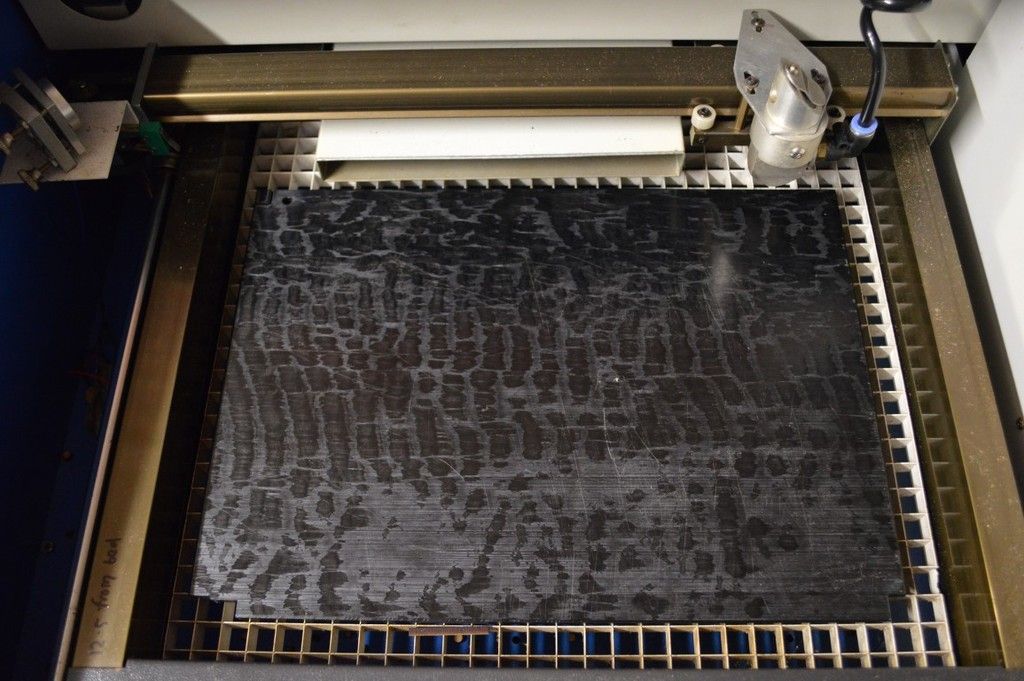
Took some test cuts to dial in the kerf offset power and speeds (full power at 150mm/m for those interested. Slllooooww!) as well as making sure it wouldn't combust. Dat accuracy The cut was amazingly smooth and devoid of much taper. Amazing given the slow cut speed and thickness of the plastic.
The plan was to sit the battery and the electronics on two laser cut delrin platforms that were shock mounted. This is the battery platform v1. The holes got moved a bit and the tabs were stronger in the final version
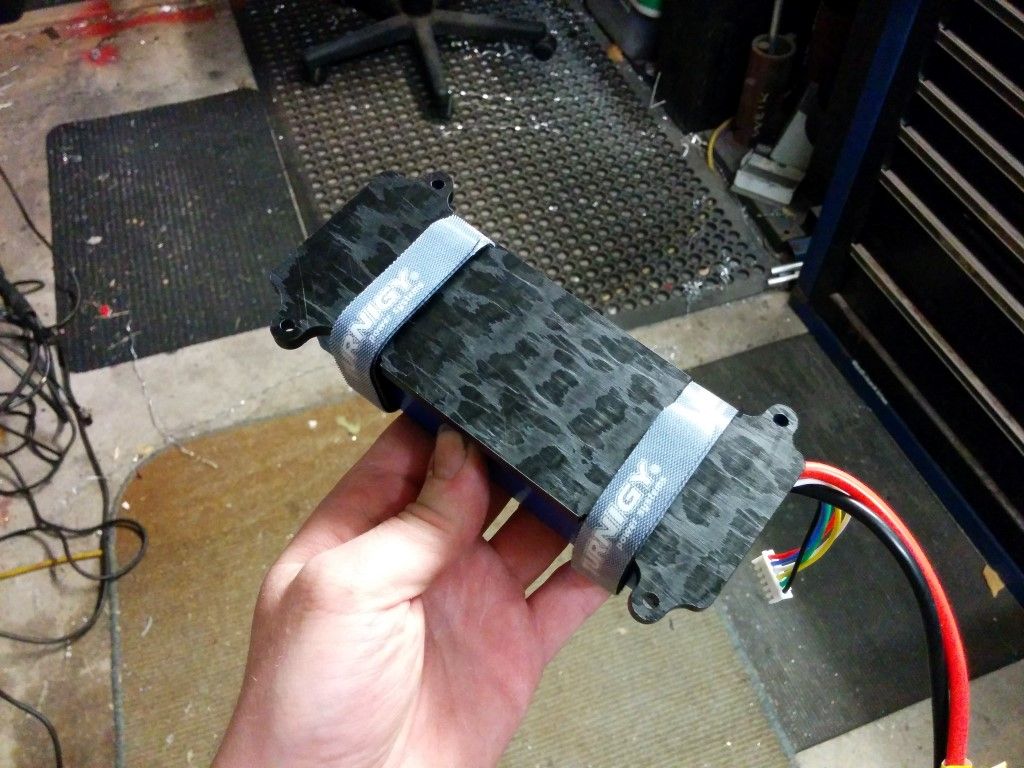
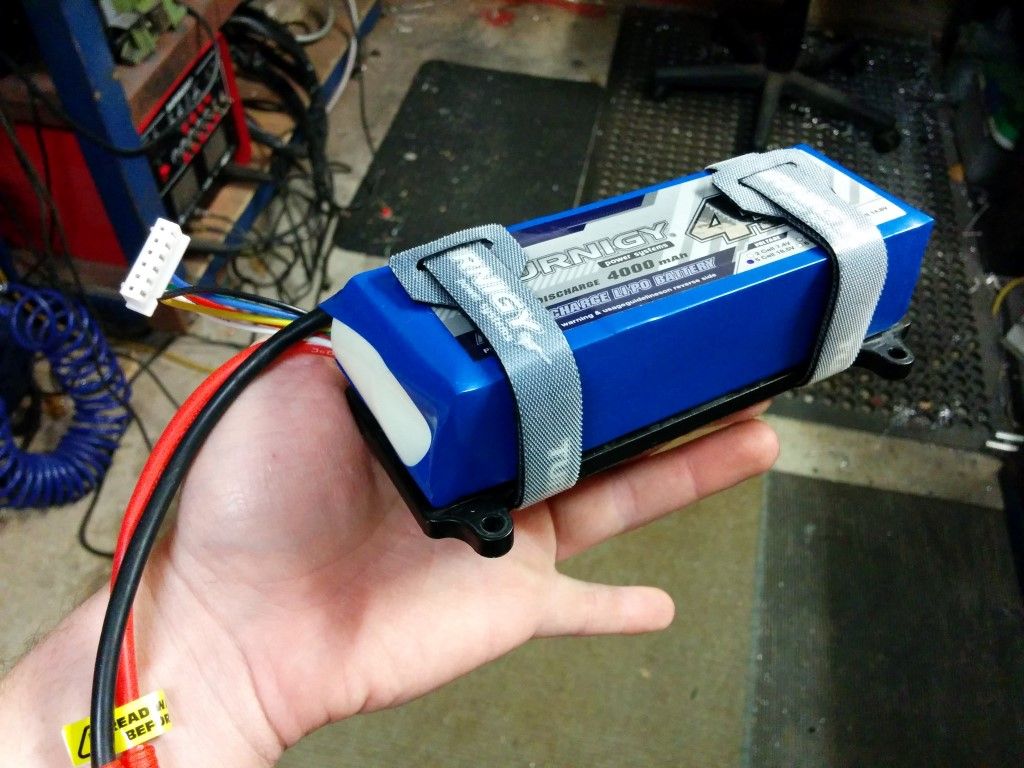
Can't believe I didn't get any pics of them installed in the robot but shall when they return
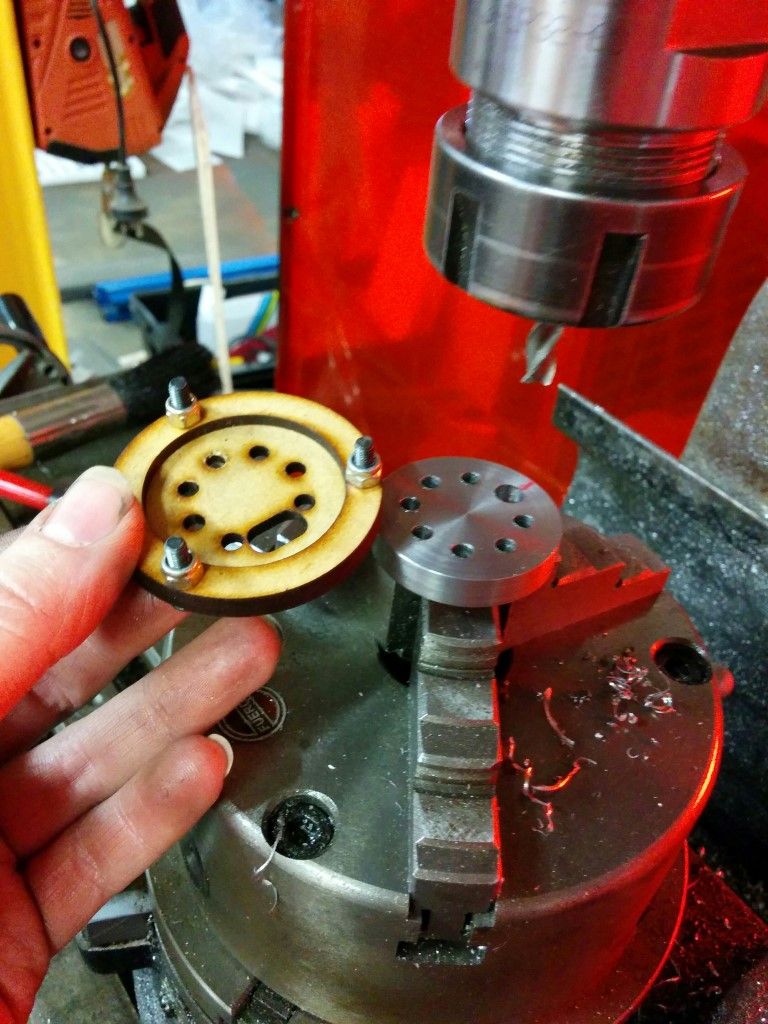
Back to finishing the motor 6 days out. Lasered a jig to align the vent holes on the motor. The accuracy isn't hugely critical so long as its concentric.
But how did you get those holes deburred on the inside you say? Uhh >_> Lets not go there.
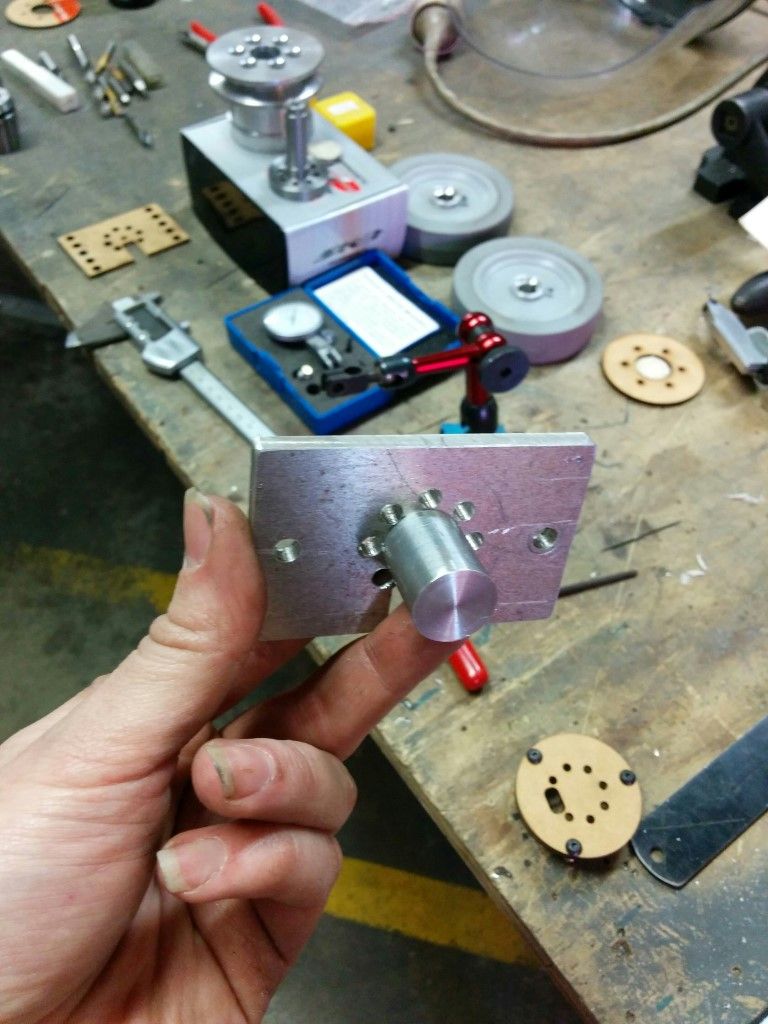
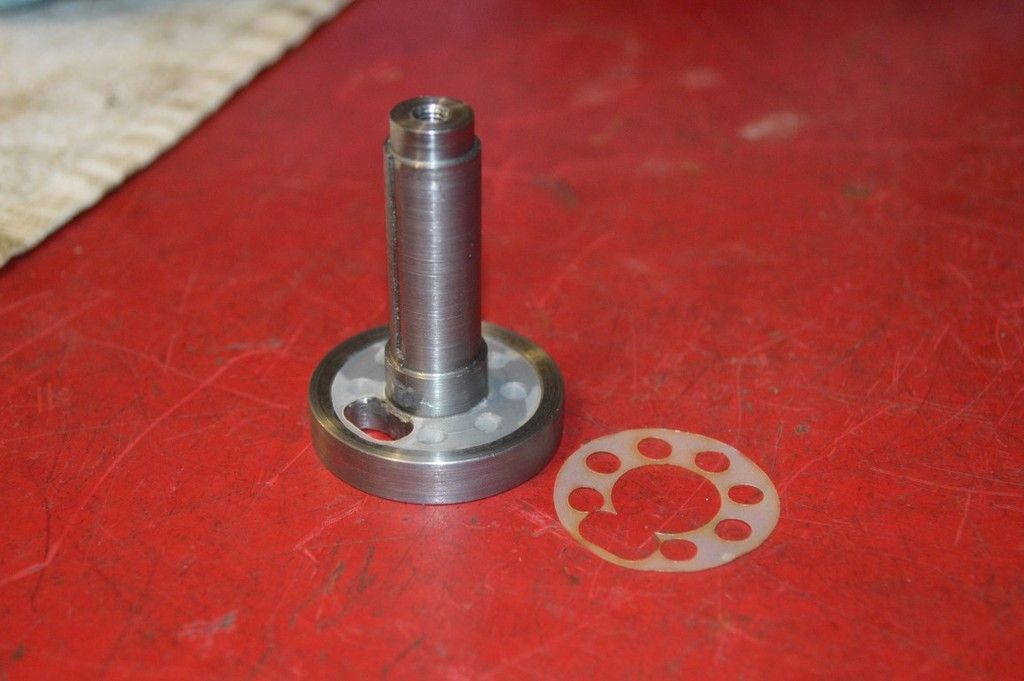
I like to leave the mill in place to get the holes lined up perfect on the mount. To clamp it in the chuck a basic mandrel is used. The slot on the mount is for the wiring to the motor and the shoulder is what the ID of the thin section bearing rests on.

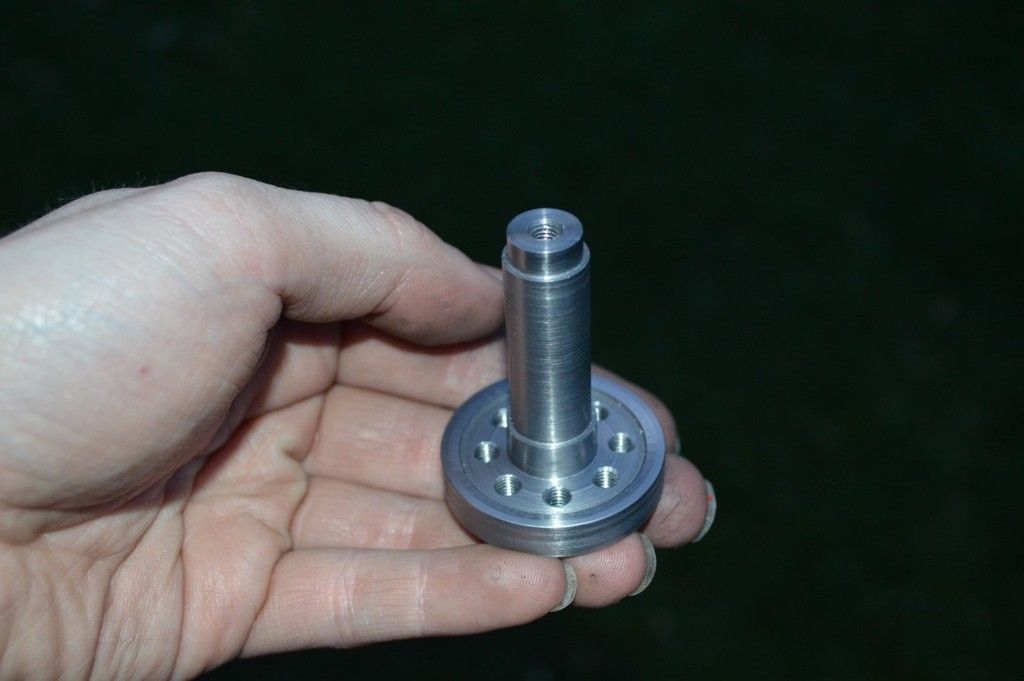
Next is the solid mount the stator sits on, plus the can bearings ride on. Originally this was made from 2011 ali but it was definitely too weak once it was made.. Plus my uber expensive bearings were the wrong size (still got no idea what is up with that) so making it from steel was the only option.
In the future making that from 2024 or 7075 alloy will save nearly 100g. Didn't get many pics of that part.
Drilling the mount holes and the jig for getting the wiring slot in the right place.
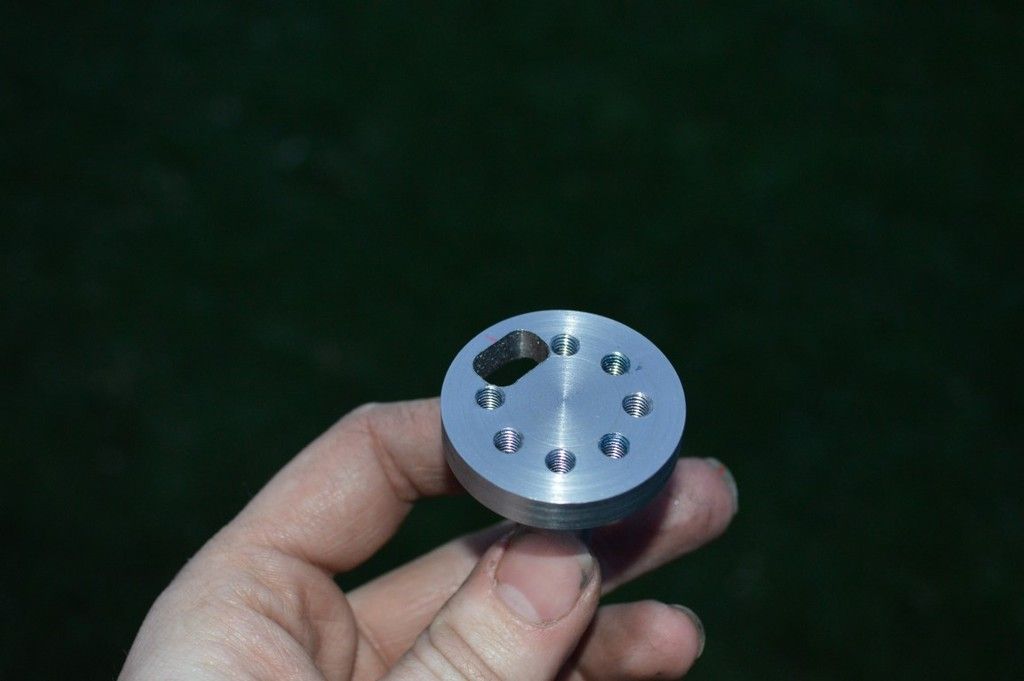
7x m5s oughta hold it!
Time to button this puppy up. Magnet ring cured after its lathe-o-troning.
Made these mylar washers to stop the motor windings shorting out. They simply super glue on.
All installed, oh my gawd it seems to fit! The wiring slot got very very deburred with a dremel till it was totally rounded off. Fits into the frame much better than the old motors ever did to boot. Heck yeah.
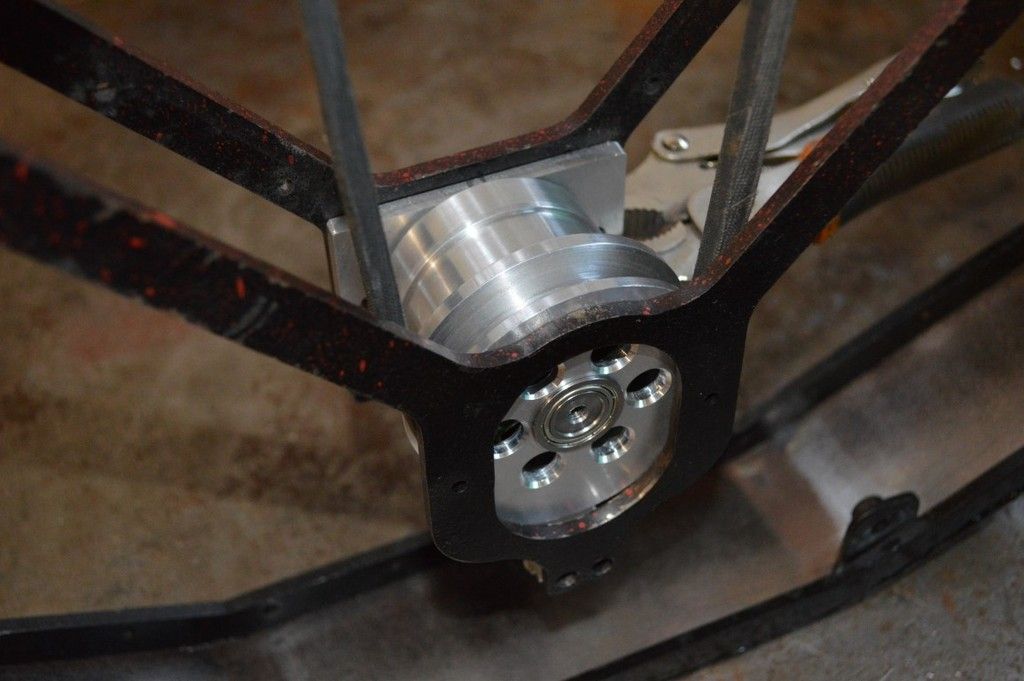
Does it work? You betcha
Ah yes and the drives! Also need to snap some pics of these as they were quite last minute. The banebots 775 drives are a bit of a kludge together affair. The motor is too big for the gearbox and adding a motor support is very tricky. Remaking the back of the gearbox is about the only way to do it.
So the initial plan was to get 550 motors, which would also save weight. Unfortunately getting a reliable supply of the 18v 550s is near on impossible, and with the advent of the simonK reversing brushless software. Took the plunge and went brushless.
The complete unit with motor supports. An adaptor ring fits them to the 775 gearbox but they should fit directly on the 550 version. My adaptation uses 8 bolts to hold the things on so in the future just remaking the end plate of the gearbox will result in a much smaller, lighter unit.
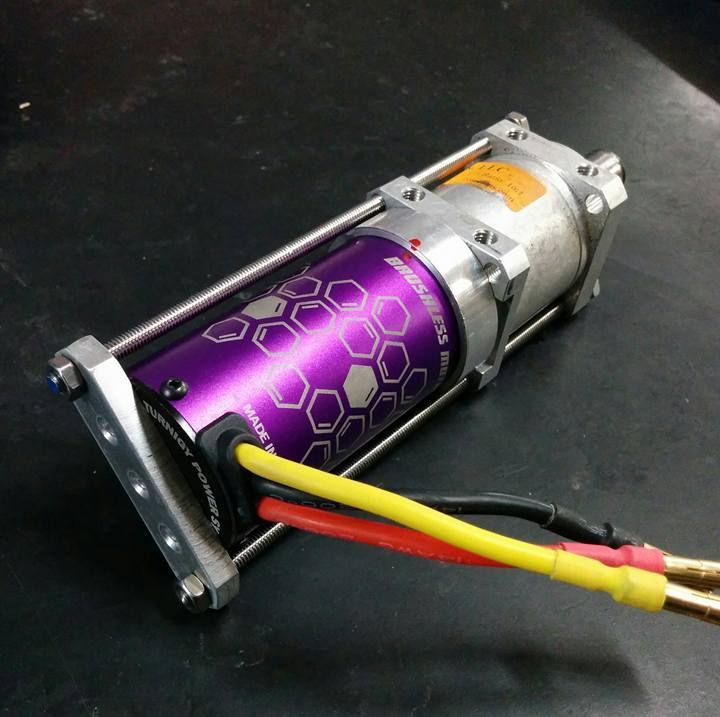
The motors are 1200kv turnigy xy inrunners. They seem nice, very nice for $44. Proper slotted stator and kevlar wound and epoxied rotor and everything.

And all done n wired
Just had to pack but my baby was having none of that.  So many sads. So many sads.

Anyway, that's all for now. There's many more pics and things to write about it but all in due time. Also have to write up the event report and post mortem tommorow Enjoy what's there for now anyways.
_________________
www.demon50s.com - Minimoto parts
http://www.youtube.com/user/HyzerGlen - Videoooozzz
|
 Wed Oct 14, 2015 12:11 am
 |
|
|
|
|
|
|
|
|
|
|
|
|
|
|

 RoboWars Australia Forum Index
-> Builders Reports
RoboWars Australia Forum Index
-> Builders Reports


