Joined: 16 Jun 2004
Posts: 9481
Location: Where you least expect
battery mounted, electronic box mounted, relays mounted, halfway done with the re-wiring. so bloody difficult lol need to put on about 25 new wires and ive taken a fair bit of time doing that because quite a few snapped off before..
next job is to make the bec and then test the control electronics. if they dont work ill just be butchering up an old car controller to power the relays _________________ www.demon50s.com - Minimoto parts
http://www.youtube.com/user/HyzerGlen - Videoooozzz
Thu Mar 16, 2006 4:35 pm
Glen Experienced Roboteer
Joined: 16 Jun 2004
Posts: 9481
Location: Where you least expect
arhghgh why am i such an idiot?! spent an entire week resoldering the thing and now im going to spend all thursday desoldering all the wires because i realised i can do it about 10x simpler and use about half the wire....
so ill get some 18g wire and have a go at that. will be nice to have it neat lol. *tempted to change robots name to onaga* _________________ www.demon50s.com - Minimoto parts
http://www.youtube.com/user/HyzerGlen - Videoooozzz
Just on the topic of clamp bots , i was lookin in the builders data base and found this cool bot .
_________________ If practice makes perfect and no one is prefect, Then why practice?
Tue Mar 21, 2006 5:43 am
dyrodium Experienced Roboteer
Joined: 24 Aug 2004
Posts: 6476
Location: Sydney
Nice! Hey glen, make your lightweight more like that
Just on the same topic... would you be willing to help me make a featherweight crusher? Just keeping options open, Australia needs one for full on pierceage!... _________________ ( •_•)
Joined: 16 Jun 2004
Posts: 3110
Location: Castle Hill, Sydney. N.S.W
Damn thats tight, some nice milling work on sides etc. Very cool design/look.
If u have its name and if they have a website ill be interested to find out as my lightweights planned to be two 300 watt setup driven vertical crusher/clamper but can also have a interchangable lifting forks/jaw/whatever, if theres weight will throw in two actuators . _________________ Andrew Welch, Team Unconventional Robotics
Tue Mar 21, 2006 10:48 am
Glen Experienced Roboteer
Joined: 16 Jun 2004
Posts: 9481
Location: Where you least expect
i love the idea of the two bars to stop it twisting side to side. but then again a bit of sideways movement probably helps wrt to taking a hit by a spinner.
but on another note the wiring is largely done. good good. ill also be putting in a seperate battery pack for the electronics. had enough of the electrical stuff for a while hehe. _________________ www.demon50s.com - Minimoto parts
http://www.youtube.com/user/HyzerGlen - Videoooozzz
Thu Mar 23, 2006 5:08 pm
Glen Experienced Roboteer
Joined: 16 Jun 2004
Posts: 9481
Location: Where you least expect
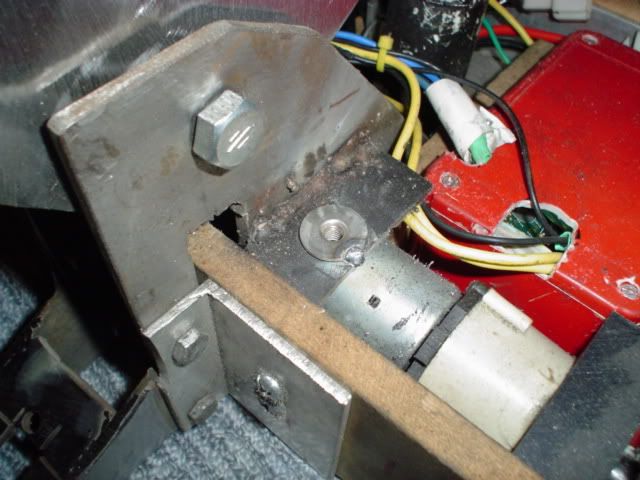
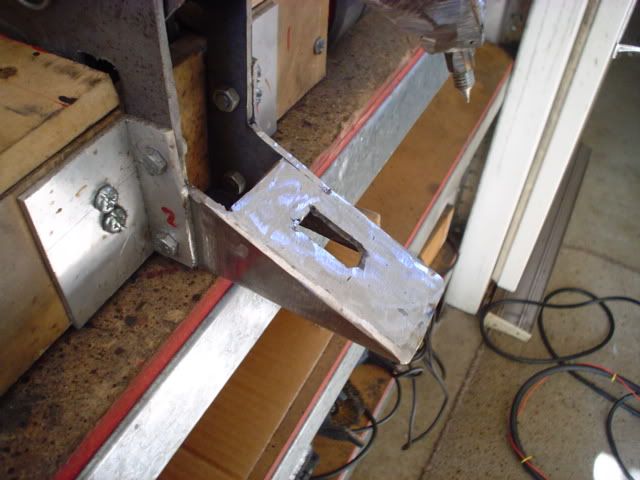
spent all day watching short circuit so i felt the need to make something robotic more cosmetic stuff than anything but plenty learnt.
firstly i semi mounted the lid by putting two m6 weld nuts on the flanges and tacked those on. so now i just put a bolt in there to hold it on. ill be using two really long m8s in the back with wing nuts to hold that end on.
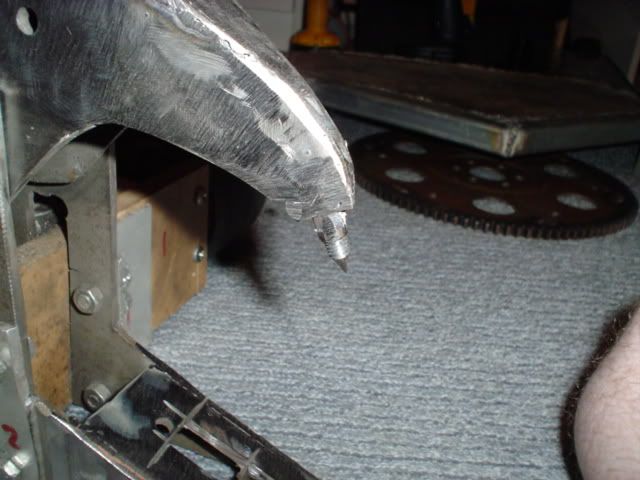
and i ground down the front of the wedge support thing so it now all looks like one shiny purdy piece. need to put a little hinged piece on there or a thinner bit or something to make it super low.
and i cut the nut off the end which had all the threads ripped apart and replaced that with a weld nut. that flange made it much easier to weld and i ground that back. and the nut is longer so its supported better. oh yeah and its welded on at a far better angle.
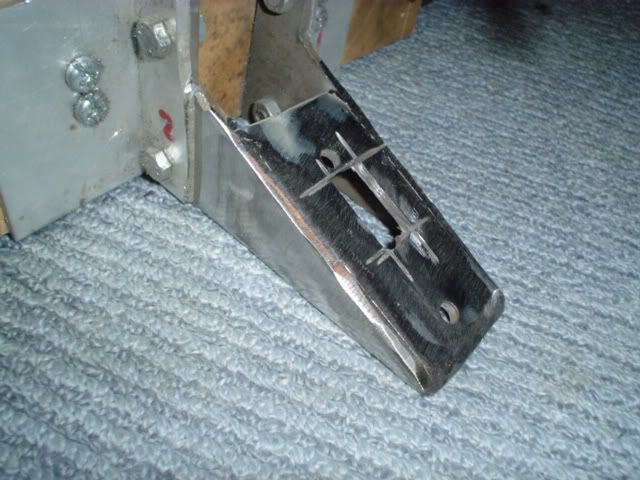
and my masterpiece lol well not any more...
that bit worked out really really well. trying to make it look like one solid piece but the front bit is screwed up as i kept blasting holes in the .8mm steel even on the lowest current setting. so ill put a second layer over it and try again. hope it works! _________________ www.demon50s.com - Minimoto parts
http://www.youtube.com/user/HyzerGlen - Videoooozzz
Thu Apr 06, 2006 8:41 pm
Glen Experienced Roboteer
Joined: 16 Jun 2004
Posts: 9481
Location: Where you least expect
well i got round to making the extra battery pack for the electronics. it was going to be powered by a BEC but i got lazy and couldnt be screwed making more electronics so i soldered up 6x 700mah Nicad AAs and shoved those into one of the side flares... still need to fit in the other two relays for the weapon. this is gotta be the most compact thing ever _________________ www.demon50s.com - Minimoto parts
http://www.youtube.com/user/HyzerGlen - Videoooozzz
Sun Apr 09, 2006 11:48 am
Glen Experienced Roboteer
Joined: 16 Jun 2004
Posts: 9481
Location: Where you least expect
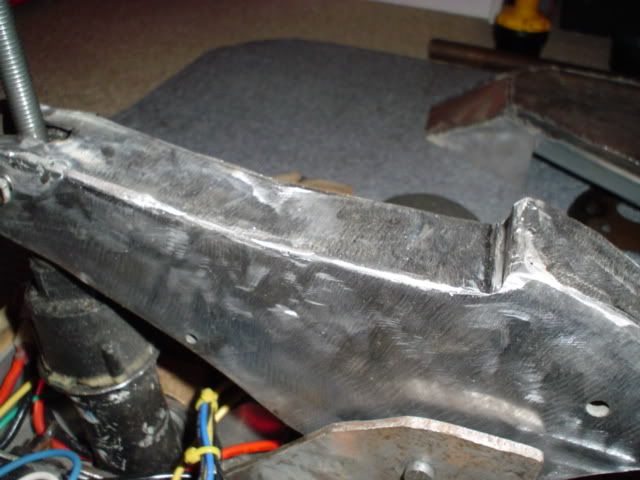
the front piece on woodzilla was very ugly to say at least as it had two holes in the thing (it was a piece of that shoddy mending plate steel...) so i welded over the holes and ground them back and did the same to the cuts from the angle grinder that extended a little too far..
You cannot post new topics in this forum You cannot reply to topics in this forum You cannot edit your posts in this forum You cannot delete your posts in this forum You cannot vote in polls in this forum

 RoboWars Australia Forum Index
-> Builders Reports
RoboWars Australia Forum Index
-> Builders Reports