|
|
Daniel
Experienced Roboteer

Joined: 30 Aug 2005
Posts: 2729
Location: Gold Coast


|
I checked over Prowler and Berserker before putting them back on the shelf for a while and wrote down a list of everything that went wrong, to make it easier to fix.
Prowler
- One drive motor burnt out. See above.
- The weapon motor screws didn't locate correctly. I'll replace them with countersunk screws to help that.
- The pins on each end on the actuator have bent so much that I'll gave to cut them in half to remove them. They were Bunnings bolts. I'll replace them with grade 8.8 bolts and see how that goes.
- The drive train grub screws wound back, causing drive issues. I'll have to buy better Loctite. Also thinking of replacing the grub screws with hex bolts for ease of tighting and repair.
- The last stage axles required a spacer and I used some nylon tube. This wasn't strong enough and one wheel slipped sideways and threw a bearing. So next time I'll get some PVC pipe or something.
- When the axle shifted the grub screw missed the flat ground into the shaft. So I'll regrind those flats to be 20mm longer.
- The wheel guards and rear plate got slightly bent, but no where near enough to be a problem.
- Needs new saw blades, but really only lost one tooth in 3 fights and a rumble.
- The battery received no damage, but I'd prefer a new mount.
- A speed controller for the arm actuator. The servo switches worked perfectly, but I can see it failing in the future.
Berserker
- The wheel nuts came loose, again. I just need to buy some nyloc nuts.
- The hard handle sword snapped. I'll straighten and reinforce the soft handle sword.
- The weapon motor screws. Same as Prowler.
- New saw blades. It destroyed a saw blade in every fight. 
- The weapon mounting screws also need nylocs. The thwack attacks shook the screws out in every fight and I was lucky to only lose it once.
- The weapon power wires really need a direct hole into the chassis rather than coming through the lid.
- New wheels. Slinky punctured one in the first fight and Hydra got the other in the second. Doesn't stop it from driving, so not a big problem.
- It lost drive in the final because the wheel hub gear broke loose on one side. I didn't add Loctite to the grub screws, so easy fix.
- The other side lost drive when the motor pinion came off. Again needs proper loctite.
So the shopping list includes one motor, 12mm ID tube, a good tube of loctite, a heap of higher quality, non Bunnings nuts and bolts and a few packets of cheap saw blades.
|
 Sun Oct 18, 2015 11:05 am
 |
|
|
|
|
|
|
|
|
|
|
|
|
|
|
|
|
|
|
|
|
|
|
|
|
|
|
|
|
Daniel
Experienced Roboteer
Joined: 30 Aug 2005
Posts: 2729
Location: Gold Coast
|
I should post something about my new ants and the modifications that I have been making to them.
Rob Anybody.
It performed well at its first competition. The flipper arm had been remade twice between the previous photo and the competition to help with selfrighting and strength. The plywood survived rather well, as can be seen in the photo, but next time I'll bring some spare arms in case they take more damage.
The robot had a gearbox failure after taking a hit from Miles's spinner on one of the wheels, which caused drive problems for the rest of the competition. To fix this I have designed a new version with larger wheel guards. I've also 3D printed new wheels that use o-rings for grip. I brought a bag of 200 x 30mm o-rings, so I'll never run out. I have also redesigned the flipper to be a different type of 4-bar layout. I'll have to wait for school to go back before I can cut it out.
Big Yan
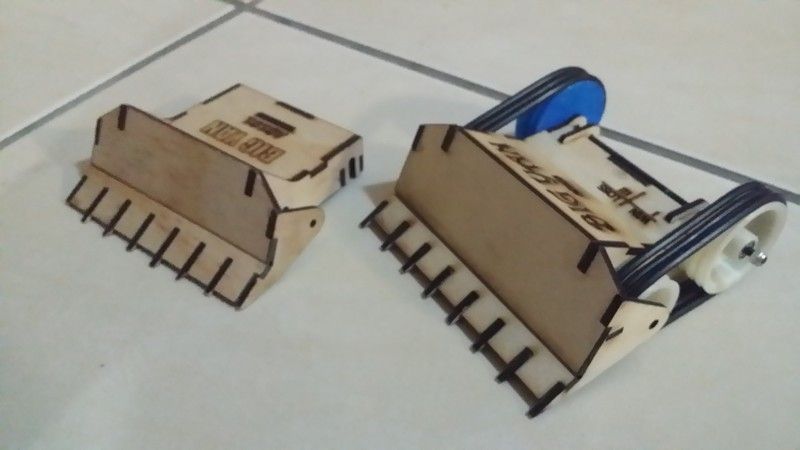
Really seemed that no-one could pronounce this robot's name correctly.
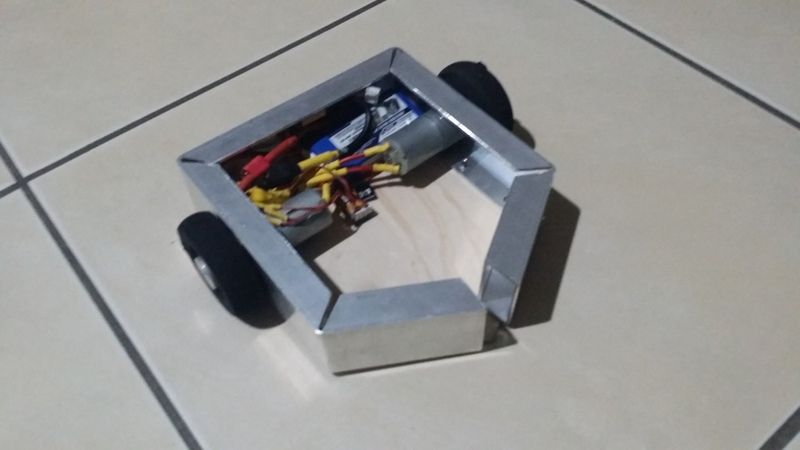
A0101 was designed around the idea of using rubber bands for tracks. This proved to be a stupid idea and for the competition it run with foam wheels on the drive and the 3D printed wheels on the idlers. Unfortunately it also suffered from a purchasing error since I ordered 100rpm motors by mistake and the robot was way to slow to be an effective pushy bot (except when Miles drove into the pit, thanks).
So I have made A0103, which has new 500rpm motors and o-rings for tracks. The drive motors are switched to the front wheels to allow an easier and stronger installation of the idler axle. The idler was also increased to 40mm just for fun. To make sure there was enough space for the electronics I added a cover on the top so the seedos can sit on top. Really no other changes and I just need to wire it up.
A0102 was also drawn up as a brushless version, but got scrapped.
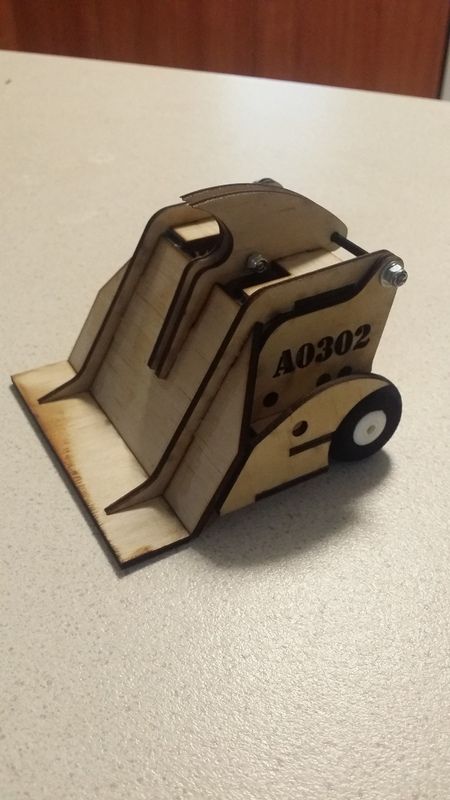
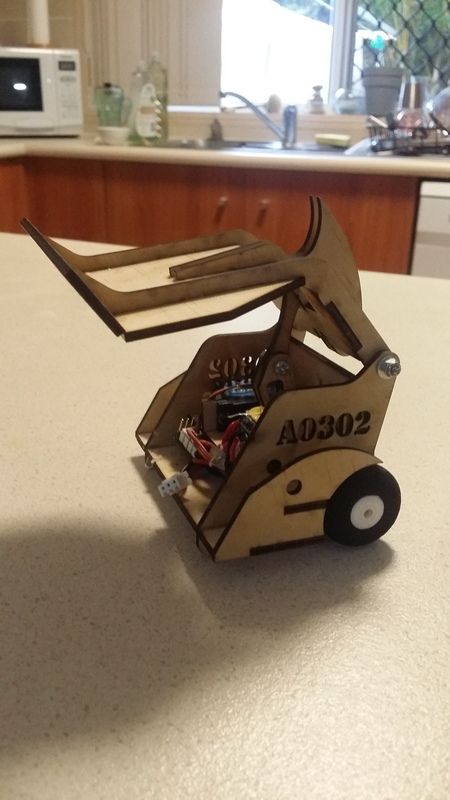
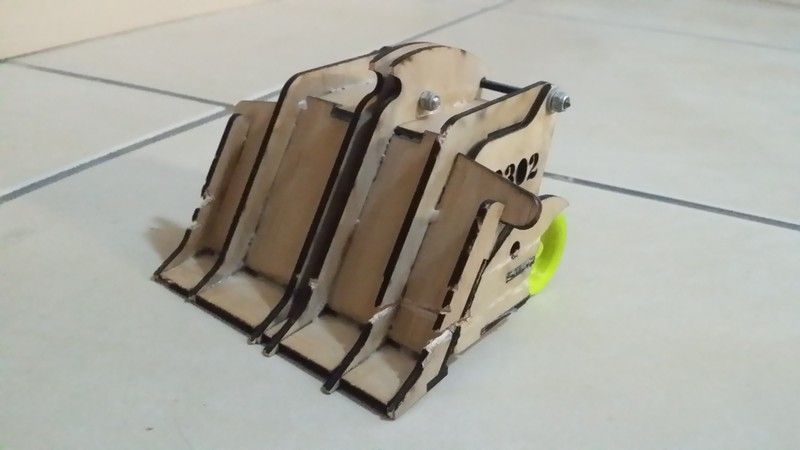
Wee Mad Arthur
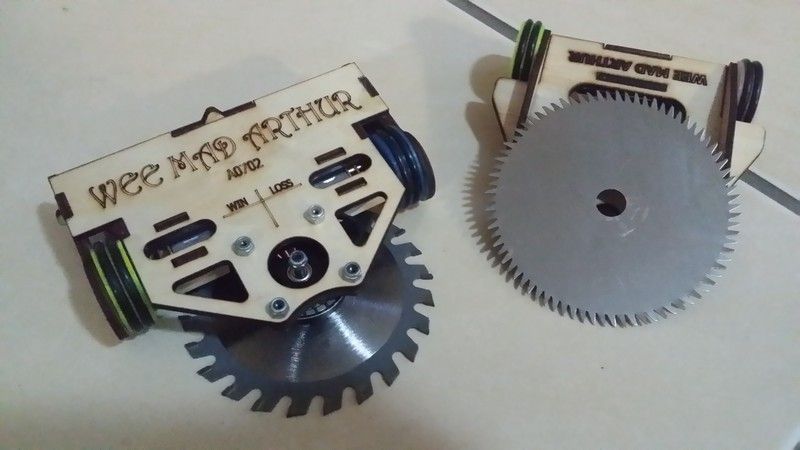
A0701 was cut out and glued together for the competition, but wasn't finished since the saw blades didn't arrive. While looking at it after the blades arrived I decided there wasn't actually enough room to install the speedos, so I went for a new revision.
A0702 looks rather different. I brought the wheels forward so the electronics could sit behind them, away from the blade. I still need to 3D print a new hub for the weapon motor, and I really, really wish I owned a 3D printer so I could make stuff during the holidays when I actually have free time. But it should be ready for a drive test tomorrow, once I fix the tansmittor battery.
I have also drawn up 3 other designs that I could get cut (A0501, A0801 and A1501) but it seems silly to have more robots than radios.
|
|
Wed Apr 12, 2017 11:14 pm |
|
|

 RoboWars Australia Forum Index
-> Builders Reports
RoboWars Australia Forum Index
-> Builders Reports